Operation “Get Cracking” Pt 5

Ok this is the second week on this project and it s looking good so far.

Where a I up to?

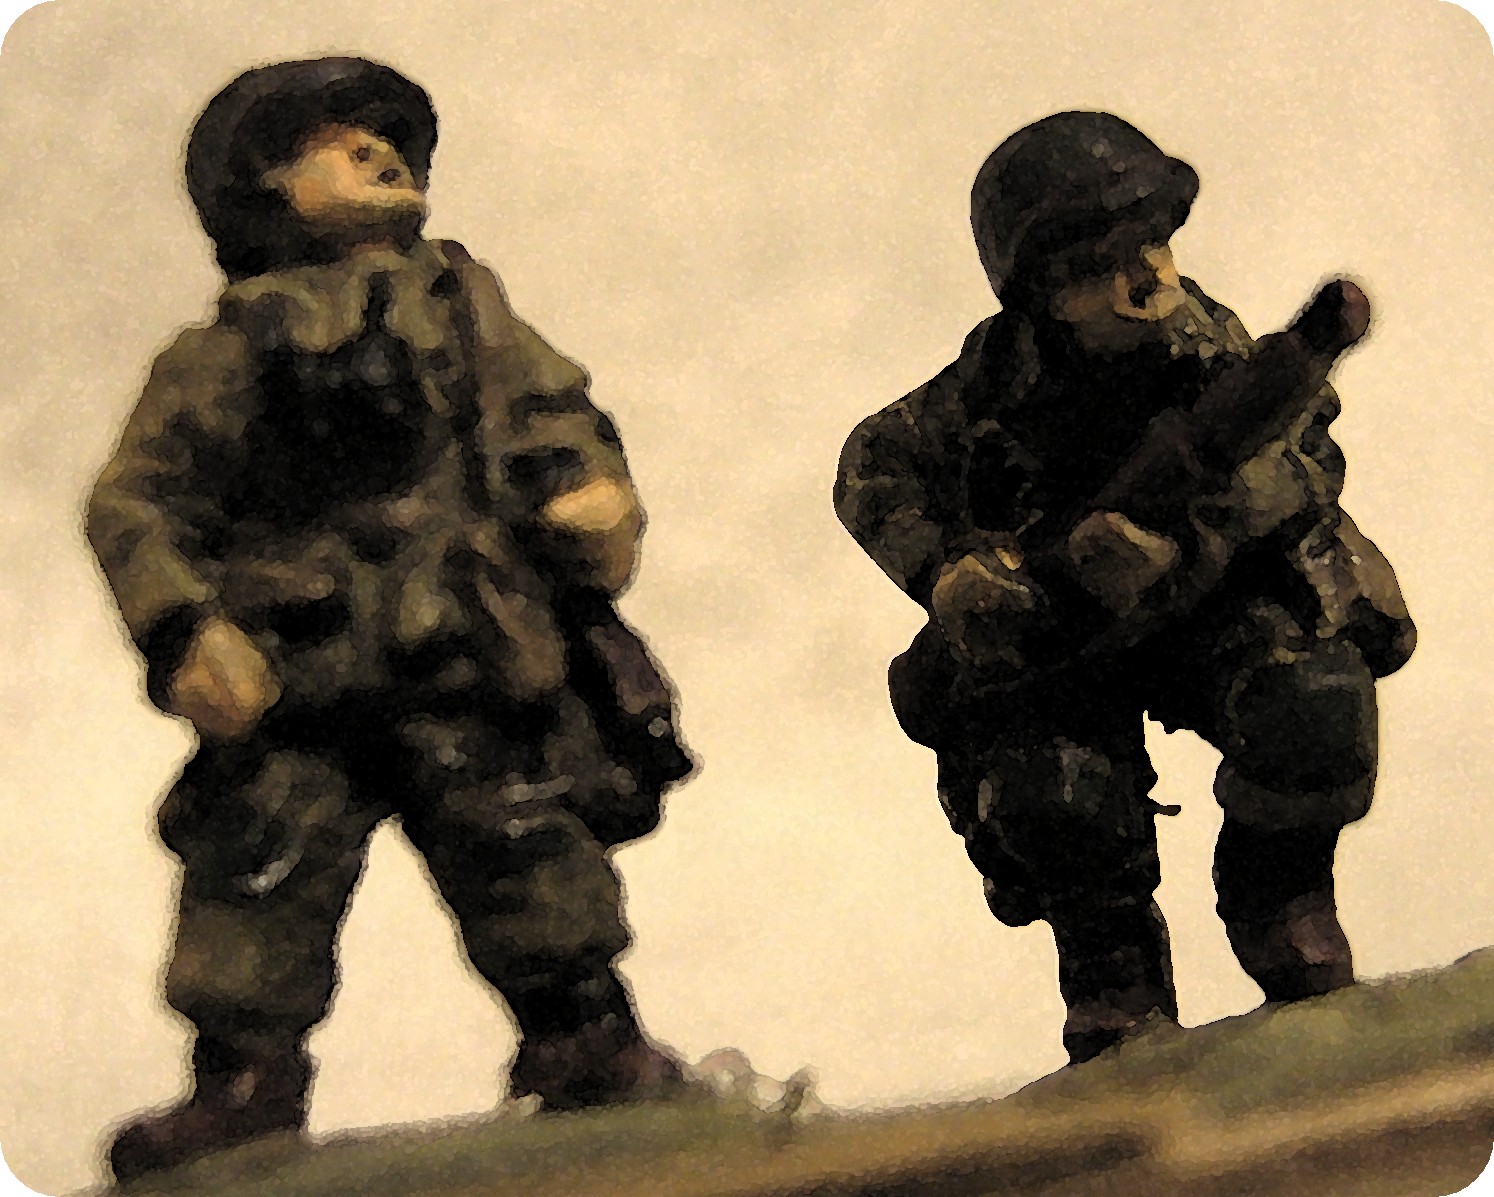
I have painted all the flesh on the two platoons and are currently painting the olive drab helmets and bazookas.

What is next?

I need to wash them with a dilute black or grey.
I need to wash the flesh with a dilute pink
I need to varnish them in Matt Varnish.
I need to cut the card off of the bases.
I need to glue them to bases (which i have a stock of pre-roughed or gouged bases surfaces)
I need to mix pain and drywall together and plaster the bases
I need to flock the bases and add colored markings.

So as you can see from the list above there is still plenty to do.

But here is a picture of what they look like so far.

Operation “Get cracking!” Pt 3

After working on the trial figures I re thought the order I’m working in with colours.

What drove this was the realisation that the leather strap on the US helmet needs painted to make the figures look great.
Also the brown colours typically but up to other colours that makes painting rifles in hands difficult.

So order is :

base : spray paint Dunkelgelb
Brown: boots, rifles, SMG’s, entrenching tools, pistol holsters and the helmet strap.
Khaki: Webbings, water bottle, some pistol holsters.
Olive green/grey: Knee, elbow patches and bags.
Black: Weapons metal. Boot soles, knife handles.
Flesh tone: Flesh
Olive Drab: Helmets and some pouches
Magic wash: all except for flesh.
Magic flesh wash: rose tinted wash to flesh.

So lets see how it goes.

Oh .. I have two mortars to be custom made.. as I seem to be short both of them and scavenge 5 x 30 cal Mg’s
This is what you get for buying second hand.

    Bye for now

Operation “Get Cracking” Pt 2

covershot

Well I finished two test solders/figures.
You will notice this is a habit I have started now when prepping to to do a production line of figures… I suggest this to anyone thinking of painting a platoon or more of figs… paint a couple from start to finish and get the process right and change things.

This one was good.. I changed my usual order in which the flesh gets painted. I do however have to change my formula for the dark or ink wash. I’m still getting bath rings forming on my wash. Dish wash soap doesn’t seem to help. I’m thinking the magic wash is going to have to be tried again.. although I will need to buy some “Klear floor” polish first.

So… here is the first wash over the spray coat of desert yellow. This is a pretty dark wash of Khaki by Tamiya liberally applied over

so here is a comparison photo of the finish

I then jumped ahead and painted boots and wood, webbing’s (khaki), helmet (olive drab), elbow and knee knee patches and bags (olive green) and flesh, I then fished the guns and binoculars in black.
The black wash followed (which didn’t smooth very well.

here is the eye candy..


So the result is that the was darkens the base colour too much over all and needs a wash of almost equal colour.. but tinted so that the shadow will sit in the low spots. Of course a dry brush would solve this.. but I’m hoping to avoid it.