Operation “Get cracking!” Pt 4

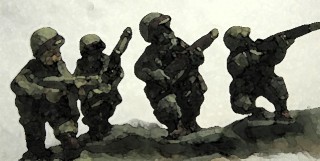
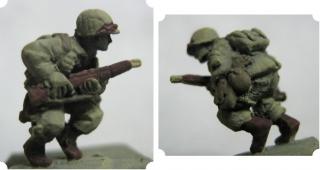
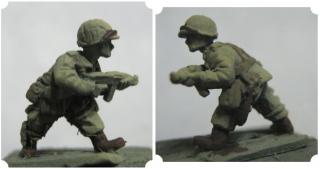
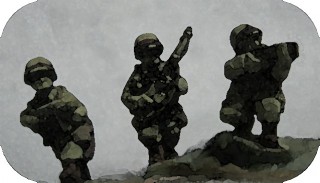
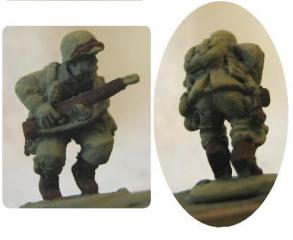
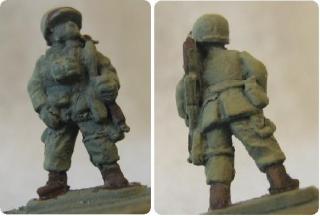
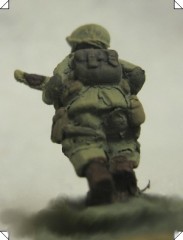
Painted the elbow, knee patches and back packs in an olive green colour.

Patches are hard to get “square” but considering they are on figs I got the patches of colour close enough. If I have to I will line the patches in black in the next step.. which is paint all the black colours.. e.g weapons and binoculars.

Yes there are now even more airborne landing into my posts

And I am really proud to finally have some uber FV troops!

Operation “Get Cracking!” Pt 3

Ok I dug deep and painted all the khaki in less than three hours.
Thais pretty good going for a whole platoon and a weapons platoon component too.

Sure I have made some small errors.. such as missing some wood colour on SMG butts .. you can see for yourself. It is hard to pick the Khaki here.. I hope in later parts after washing that a very light dry brush will fix it.

Bye for now.. we are getting stronger!

Operation “Get cracking!” Pt 3

After working on the trial figures I re thought the order I’m working in with colours.

What drove this was the realisation that the leather strap on the US helmet needs painted to make the figures look great.
Also the brown colours typically but up to other colours that makes painting rifles in hands difficult.

So order is :

base : spray paint Dunkelgelb
Brown: boots, rifles, SMG’s, entrenching tools, pistol holsters and the helmet strap.
Khaki: Webbings, water bottle, some pistol holsters.
Olive green/grey: Knee, elbow patches and bags.
Black: Weapons metal. Boot soles, knife handles.
Flesh tone: Flesh
Olive Drab: Helmets and some pouches
Magic wash: all except for flesh.
Magic flesh wash: rose tinted wash to flesh.

So lets see how it goes.

Oh .. I have two mortars to be custom made.. as I seem to be short both of them and scavenge 5 x 30 cal Mg’s
This is what you get for buying second hand.
    Bye for now