Boots on the ground….
A nice name for the operation currently on my painting bench.
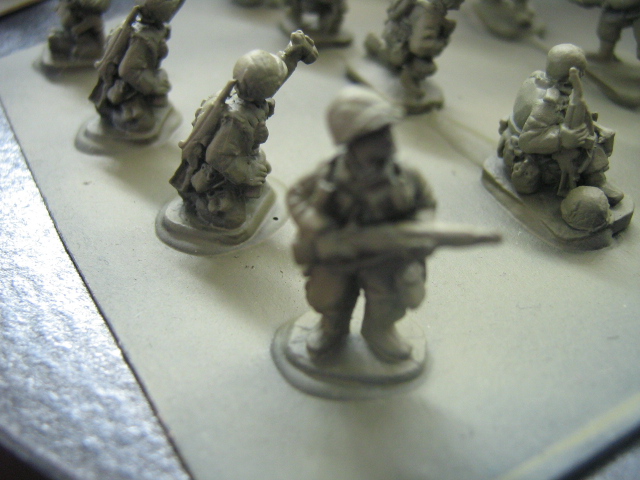
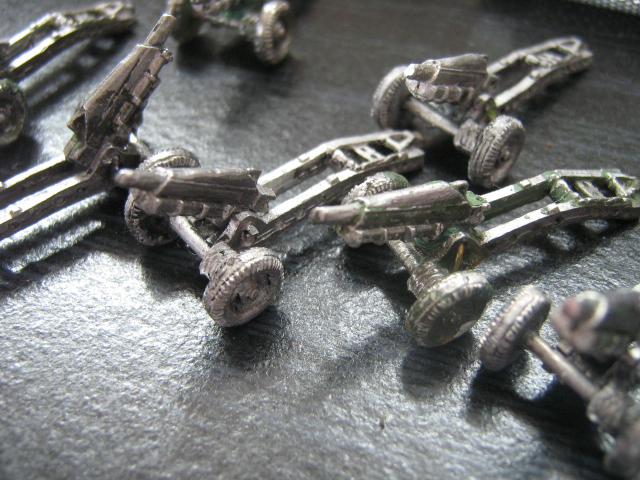
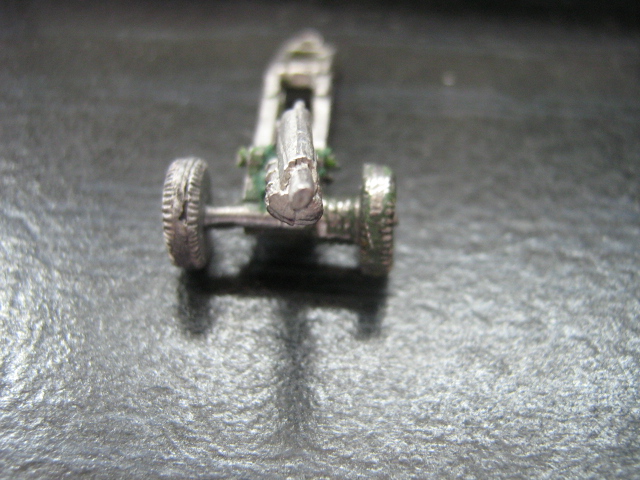
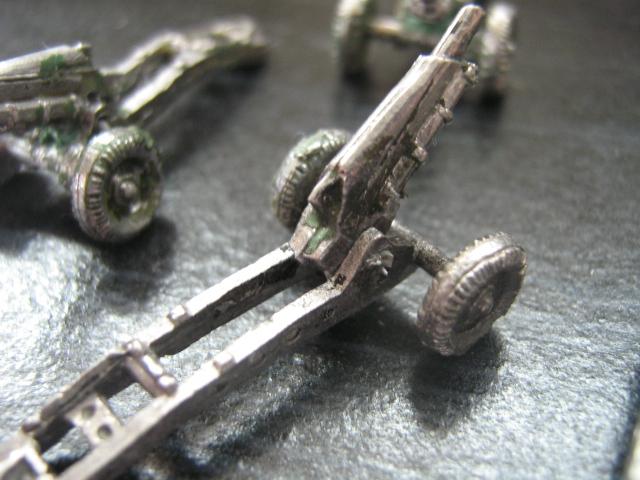
152 figures to paint, seven Sherman tanks and 8 x 75mm pack howitzers
To date I have made some nice progress.
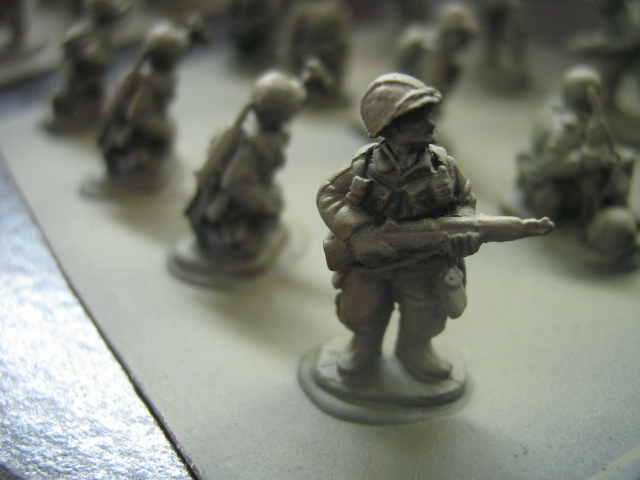
Stripping all the figures was a mixed bag.
Most stripped like dream.
Half the guns and some of the figures had a very thick dark green enamel oil based paint and that took not just simple green but the brass wire brush to get that off.
The guns had alot of super glue and blue tack on them and that was covering up good detail but holding it together remarkably well.
I cleaned this all off and I drilled the gun bearing and pinned the barrel to the carriage… which looks great. I used a small amount of green stuff to stick the gun barrel angle covered with a minute amount of super glue. So those are now finished and ready for priming.
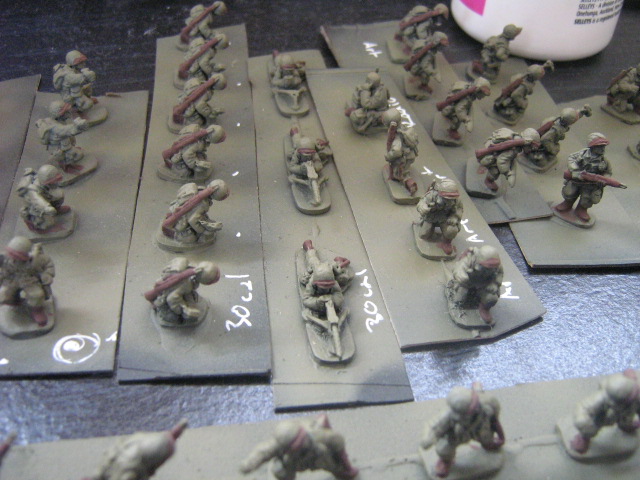
Meanwhile the figures were all glued to card and primed with KearKote(TM) black metal primer and they look good.
Some parts were missing and I easily managed to get some replacement parts from Battlefront who are just totally awesome to deal with when you need some parts replaced. I really do love dealing with them for my miniatures.
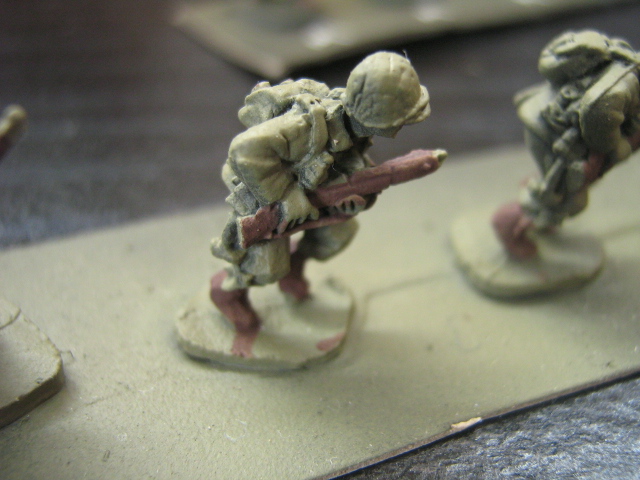
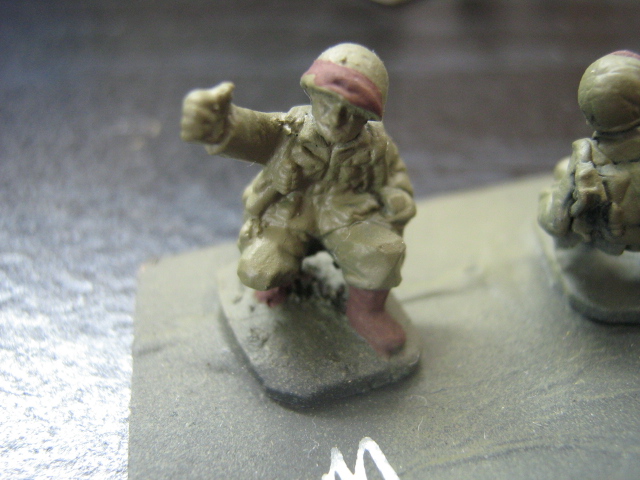
I then went to base coat the airborne in their distinctive colour. I mixed Tamiya German Grey a little bit into Kahki and got a good colour. This was airbrushed on to the figures and they look great.
After setting I have then started painting colour by applying brown. This is painted onto the boots, guns, shovel handles and the helmet strap. The helmet strap is important as when you paint later in Olive drab (OD) you just brush each side of the strap and it leaves a crisp strap in brown.. which shows up alot when viewed from above.
some pics for you.