Well I completed the job that was started well over a year ago.
On Saturday last I handed over the army to its rightful owner.
He was very happy with it and I must say I was pretty chuffed with what I achieved with it too.
The whole project is a bit of a prototype for what I want to do with my other armies.
As I’m running out of storage space I want to crate my armies too in way I can use them straight out of the box.
So the army was developed in the army builder tool on the FOW website and I made it up into the crate.
The crate is based on real dimensions of real ammo crates from WWII. Obviously I cannot get real hinges and clasps.. although I tried.
The only people making reproduction hinges and clasps won’t sell any because there A holes.
The crate was made from real cheap fencing grade pine and hand planed and routed into shape. The nailing was left neat.. I didn’t clinch the nails but I did nail from opposite sides to keep it in shape.
The hand hold ropes are sash window cord. A bit softer on the hands than real hemp rope. I should have pig tailed one of the handles and I forgot.. so it flips into the crate instead of out… but hey?
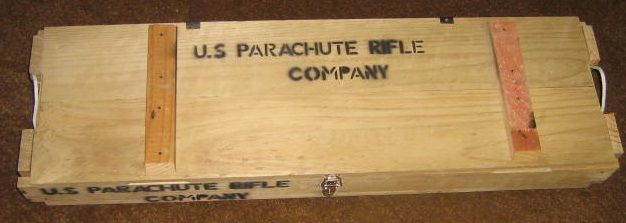
So the crate is quite long … any longer and it wouldn’t have fit into the boot of the car… that was luck.
The crate has cleats on the top and bottom surfaces. i stuffed up the top cleat and they are not symmetrical. But otherwise the bottom ones are slightly offset so if you had two crates they would stack
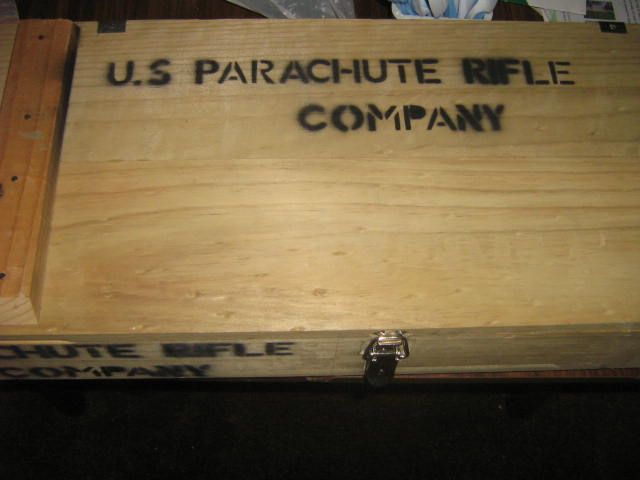
I hand cut a stencil and labelled the crate on the three sides. It really makes it.. otherwise it’s just a box.
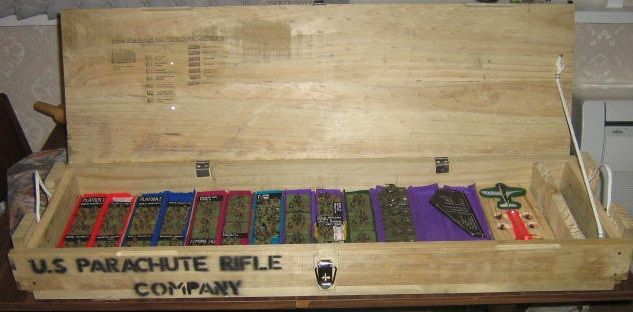
The interior is split into rows for the bases. each row is fenced with a stick of MDF which is set into a groove which was routed onto the base before fixing to the box carcass. The colour coded felts are PVA glued to the box.
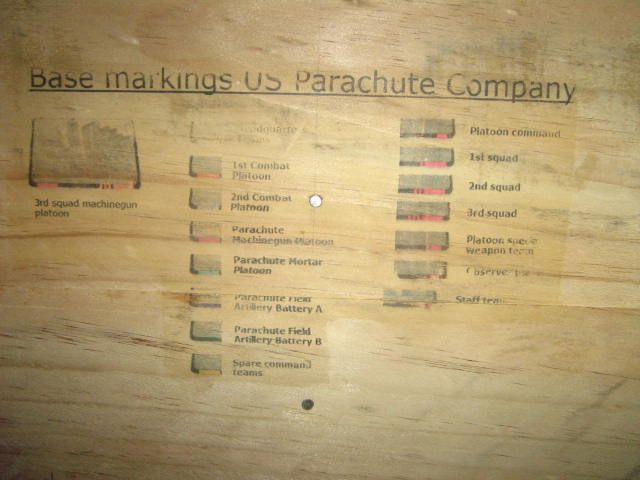
The bases of all the units have a coding so you can keep them together. The colour coding and the base code is printed on reverse on a photocopy paper then laid on the box lid interior and Acetone applied and stiff rubbing applied. This transfers the image mostly to the wood. Then a polyurethane varnish is painted over to set it. n aerosol varnish would probably be less noticeable.
A window sash cord was attached inside as a lid stay. The cavity is there to allow the cord to fold into the box when closing the lid.
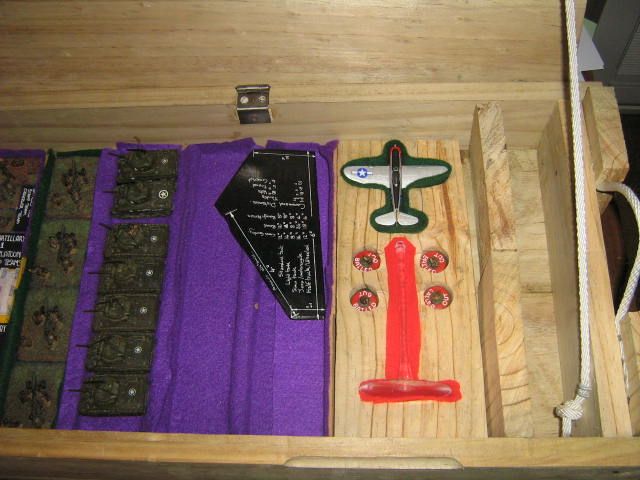
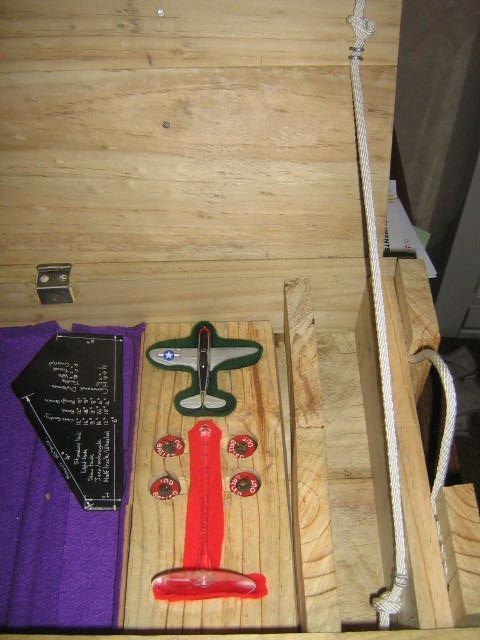
The air support aircraft.. here is a P47 Thunderbolt was set in a piece of timber routed out to house the felt to sit it in. The stand is a new new one that is tall. The attachment is magnetized. The bailed out markers have there own well too.
There is also plenty of space for the other vehicles the owner has.
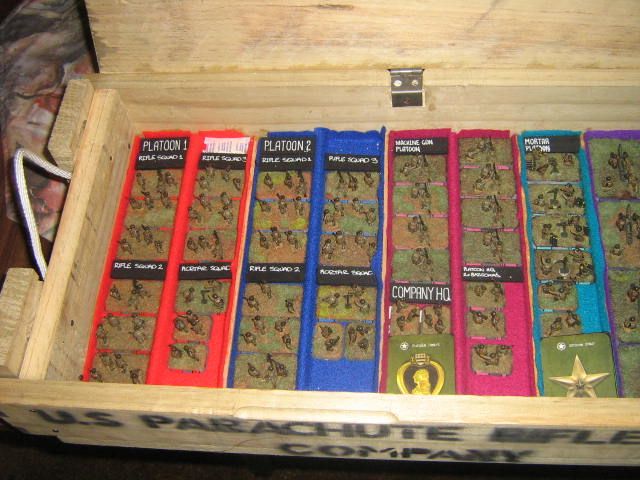
Besides the label tabs you can see two of the three objective markers. There are two bronze star objectives and one purple heart marker. The PH marker is the third one… obviously.. if you’ve ever played fighting withdrawal you know why. Each was made with a medal from the BF blister packs, glued onto a MDF piece and sealed with multiple coats of PVA and polyurethane. each is numbered o the reverse.
I was going to make an interior book shelf over the infantry but never got around to it.
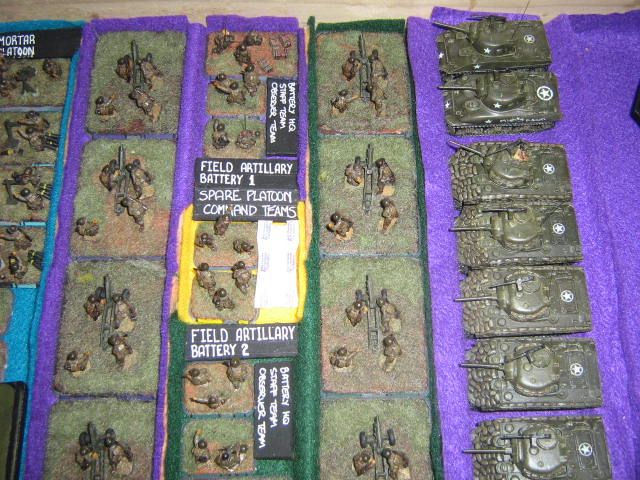
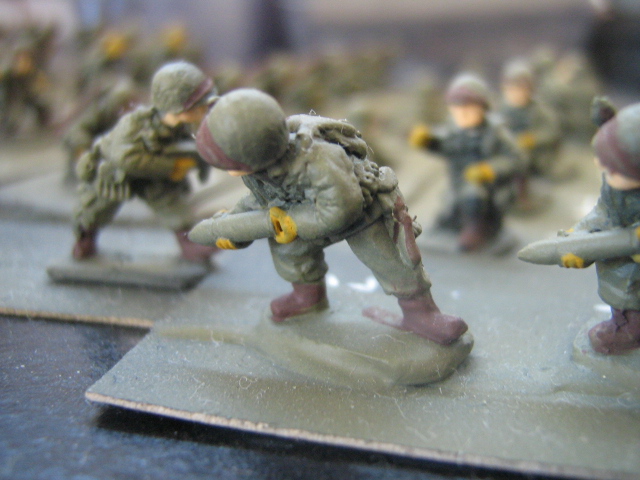
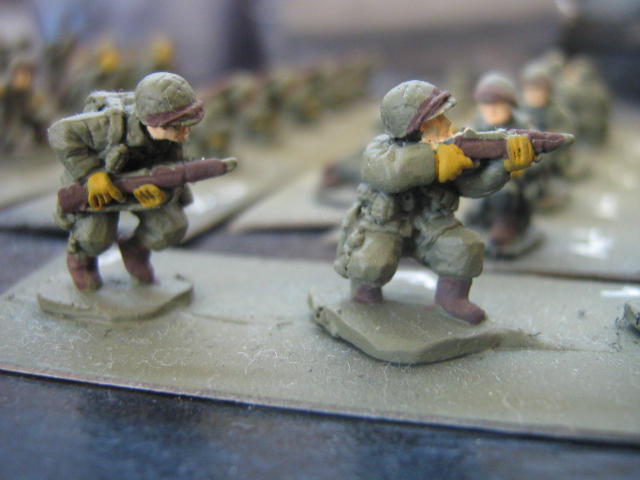
Here is a close up of the interior. Showing the spare two command teams here.. this allows the air stick platoons to be deployed. The army list this is based on is a late war set where they didn’t have two command teams.
The guns arn’t glued to the base… my bad.
The staff teams have ammo boxes around them.
The observers have radio aerials of wire… which can stab! The Sherman’s use brush wire which is so much better.
So there you have it… army in a crate…
My next project… super big orc army.