After working on the trial figures I re thought the order I’m working in with colours.
What drove this was the realisation that the leather strap on the US helmet needs painted to make the figures look great.
Also the brown colours typically but up to other colours that makes painting rifles in hands difficult.
So order is :
base : spray paint Dunkelgelb
Brown: boots, rifles, SMG’s, entrenching tools, pistol holsters and the helmet strap.
Khaki: Webbings, water bottle, some pistol holsters.
Olive green/grey: Knee, elbow patches and bags.
Black: Weapons metal. Boot soles, knife handles.
Flesh tone: Flesh
Olive Drab: Helmets and some pouches
Magic wash: all except for flesh.
Magic flesh wash: rose tinted wash to flesh.
So lets see how it goes.
Oh .. I have two mortars to be custom made.. as I seem to be short both of them and scavenge 5 x 30 cal Mg’s
This is what you get for buying second hand.
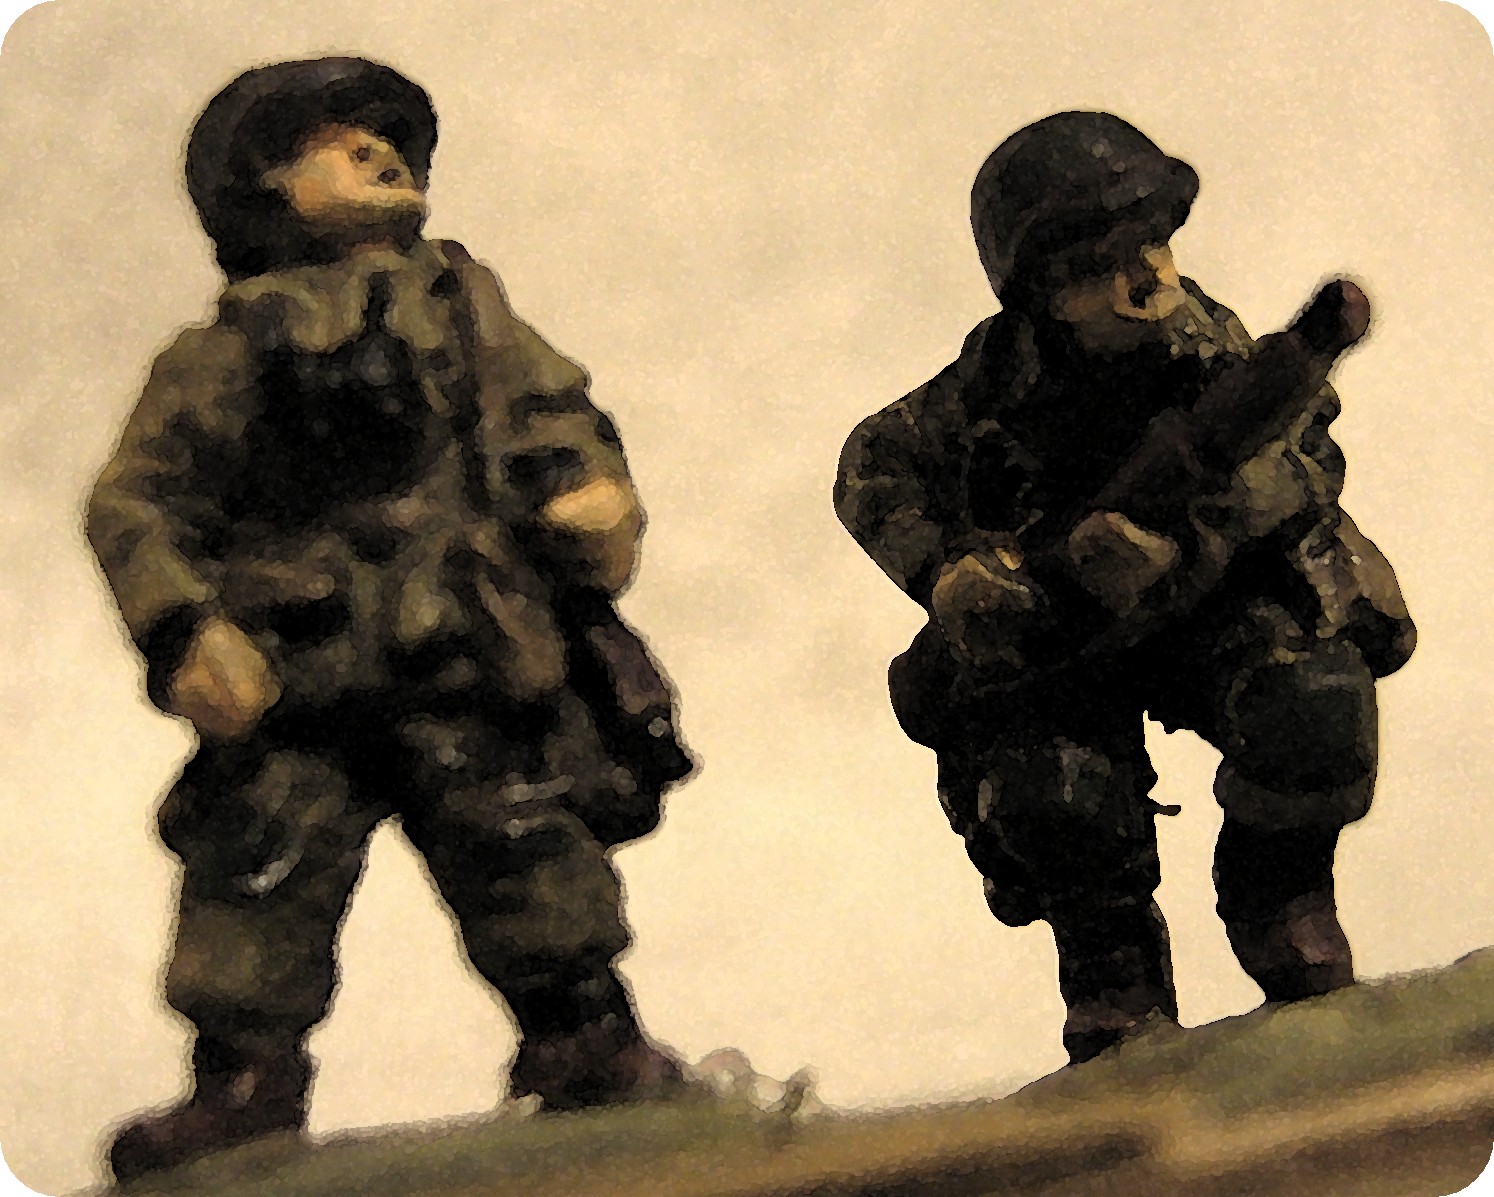
Well I finished two test solders/figures.
You will notice this is a habit I have started now when prepping to to do a production line of figures… I suggest this to anyone thinking of painting a platoon or more of figs… paint a couple from start to finish and get the process right and change things.
This one was good.. I changed my usual order in which the flesh gets painted. I do however have to change my formula for the dark or ink wash. I’m still getting bath rings forming on my wash. Dish wash soap doesn’t seem to help. I’m thinking the magic wash is going to have to be tried again.. although I will need to buy some “Klear floor” polish first.
So… here is the first wash over the spray coat of desert yellow. This is a pretty dark wash of Khaki by Tamiya liberally applied over
so here is a comparison photo of the finish
I then jumped ahead and painted boots and wood, webbing’s (khaki), helmet (olive drab), elbow and knee knee patches and bags (olive green) and flesh, I then fished the guns and binoculars in black.
The black wash followed (which didn’t smooth very well.
here is the eye candy..
So the result is that the was darkens the base colour too much over all and needs a wash of almost equal colour.. but tinted so that the shadow will sit in the low spots. Of course a dry brush would solve this.. but I’m hoping to avoid it.
Well my army has always been modeled on the 331st Grenadier Division. Unfortunately they didn’t have any tanks but they did serve with the 5th Panzer army in Normandy before being systematically slaughtered in the Falaise Pocket.
And as a part of the 5th Panzer army they had opportunity to serve with some very veteran tank divisions. Being a couple of SS divisions, Lehr Division and 116th. As I’m not a real big fan of the SS units I have adopted the 116th as the stable mate for my 331st.
116th was also a Veteran of the Eastern Front, they had Panthers and Panzer IV’s.
So anyways for my upcoming tournament army I am having Stug IIIG’s organic of the 331st. Numbered inappropriately as the 4th Battalion.. even though they only had two.
And the Panzer support is a platoon of three PzIV’s. I finished four tanks even though I only needed three, so as I can field a decent or larger platoon later.
These tanks are PzIVG late tanks.. in the tournament the book says PzIVH should be used.. they almost look the same except the big air filters that should be on the right hand side… but I’m cool with it. And I don’t think they will notice. (Which reminds me I must sculpt some Panzerfausts to lay on the base of some of the command teams to stay WYSIWYG legal.
Going on… the tanks are numbered from the BF decal sheet except the black crosses which are command decision decals. The swastika flag is green stuff. I have a sculpted whippet dog to sit beside the platoon commander but I wasn’t happy with it..looked more like a German Shepard.. wasn’t thin enough. So I left that off..You will notice his hand seems to be resting in mid air.
The command figures on the Stug III G are Peter Pig figures.. Craig Courtis put me on to these years back. You need only buy these and glue (or in my case putty GS) them on. I find these very good as they are stronger and look right. You will notice I left the MG42’s open on the earlier two Stug’s .. because of he fidliness of the figures and MG’s.
The Stugs have got some of that paint rot that seems to have plagued some of my earlier figures and vehicles. Which I am sure is associated with the floor polish glaze and the polyurethane Matt varnish… but i also have a suspicion it is a Tamya paint issue too as I have some that aren’t glazed or varnished which have it really bad. But I digress… the Shurtzen has some obvious parts where the paint has rotted off… however it looks like a white or light gray has been added to the cammo pattern.. and I like the effect so instead of totally stuffing it up and trying to repair the paint job, I have kept it as is.
Anyway enough of this Jibber Jabber as a TV famous Judge in a Boston court who also played the part in a very funny Blues Brother movie as a Nazi once said (yes I’m loosing it) on to my poor photography…
Platoon commander
2ic with flag custom stowage.
Number 3
Number 4
The line up.. 1st platoon, 1st company, 1st Battalion, 116th Pz Div
OK! “Show us the Stugs” I hear you shouting! OK ok but don’t ring in just yet because we have even more to offer you….
3 vehicle platoon… I still have the StuH 42 vehicle to add.. which is mostly finished.
As a bonus.. if you can pick out the inaccuracy with the uniforms of the stug crew you can win a prize.