Operation “Get Cracking” Pt 2

covershot

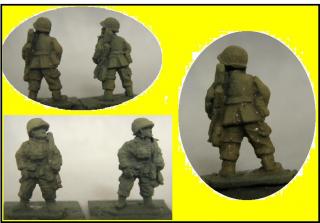
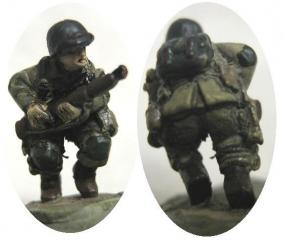
Well I finished two test solders/figures.
You will notice this is a habit I have started now when prepping to to do a production line of figures… I suggest this to anyone thinking of painting a platoon or more of figs… paint a couple from start to finish and get the process right and change things.

This one was good.. I changed my usual order in which the flesh gets painted. I do however have to change my formula for the dark or ink wash. I’m still getting bath rings forming on my wash. Dish wash soap doesn’t seem to help. I’m thinking the magic wash is going to have to be tried again.. although I will need to buy some “Klear floor” polish first.

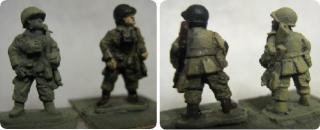
So… here is the first wash over the spray coat of desert yellow. This is a pretty dark wash of Khaki by Tamiya liberally applied over

so here is a comparison photo of the finish

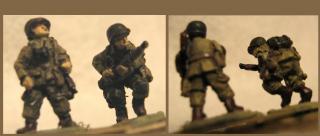
I then jumped ahead and painted boots and wood, webbing’s (khaki), helmet (olive drab), elbow and knee knee patches and bags (olive green) and flesh, I then fished the guns and binoculars in black.
The black wash followed (which didn’t smooth very well.

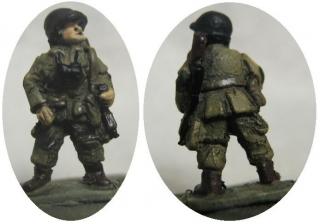
here is the eye candy..


So the result is that the was darkens the base colour too much over all and needs a wash of almost equal colour.. but tinted so that the shadow will sit in the low spots. Of course a dry brush would solve this.. but I’m hoping to avoid it.

Show us your legs – Pt 2 – The incriminating photos

OK as promised some (actually alot!) pictures of my DIY build a set of game table legs

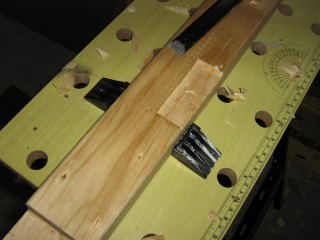
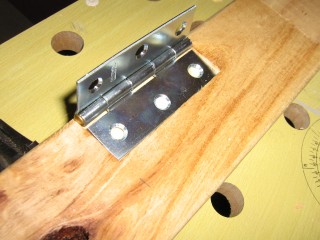
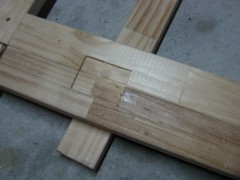
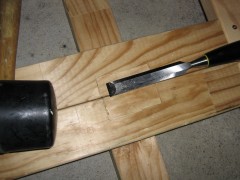
Chiseling the hinge rebutment in.

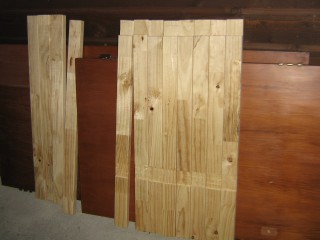
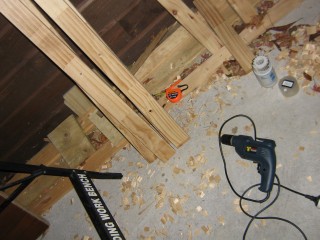
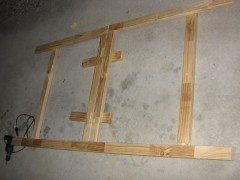
Almost finished legs and stanchions…

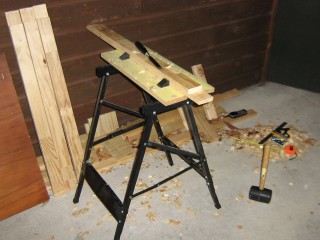
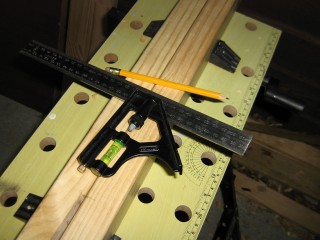
Work bench and tools.. the bench is a bit flimsy and i had to work into the wall when using the mallet… to keep it all steady.. but a suitable work bench non the less. I’m working in a well lit car port beside the garage

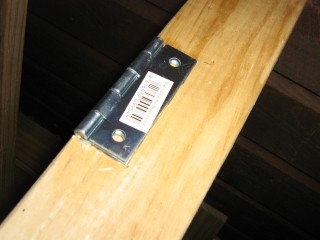
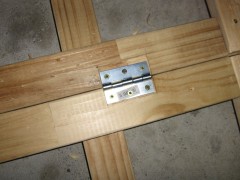
Setting the hinges. Later found I did this wrong… you need to set the pivot outside of the face.. to sit proud.. otherwise the legs wont close flat. I now need to chisel the in side face to allow the legs to close. And get BIG hinges. The distance from face to first fixing hole is what is important.


Using the completed hing or top rail as a template for the remaining three

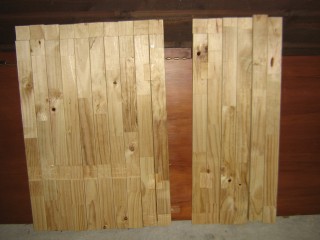
Almost finished sections, note the hollow core doors in back ground… they will be the table tops.
Also note all the half joints I made. 16 in all. Plus 8 recesses or cut-in joints.

Getting set to assemble. I decided not to use dowel joints.. and I decided not to use bolt joints (even though i bought bolts! I ended up with 4 posi-drive square head screws per half joint. No glue.. even though I intended to… I’m such a hypocrite to my own ideas of perfection!


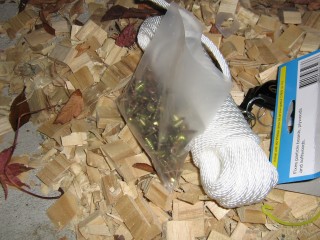
Screws and corded rope (not sash cord) 6mm thick cord.. 10m long and pretty cheap too. Thanks Zeneth corporation!

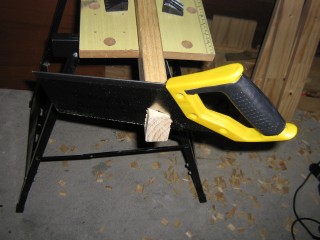
Tenon saw required… cut a slope to the feet… no special measuring but no un-accurate either — but doesn’t answer why one leg is 5mm shorter than all the other seven?

Dummy set up… and the timber I decided to put it together too… the timber work passed muster

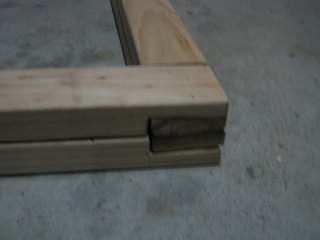
A side shot of the half joints..a little rough… but still pass in High School classes all the same

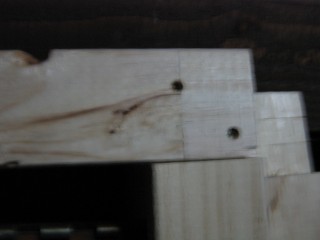
Assembly… started with the lower cross rail. I “starter-hole” drilled these and counter sunk the hole with 8mm drill.. because the screws were 50mm screws and the needed to reach the timber into which they have to hold

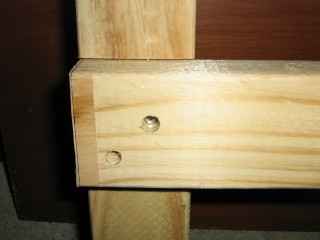
Then I plain drove the posidrives into the half joints.. two on diagonals on one side and opposite orientation on the other.. I had two joins feign splitting… ouch

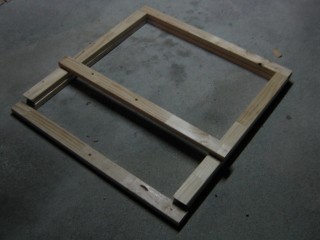
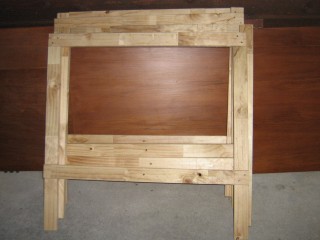
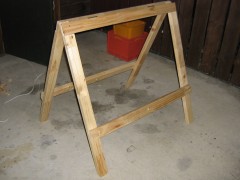
All frames assembled.. looks great

Set the frames out head to head to fix hinges… I would have been clever to leave about 5mm between the heads at this stage.. but I was too eager to some chisel work re reset the pins into the frame faces..which in retrospect was a really really really clever idea… NOT.


In the pic above… I have screwed the hinges in with the 30mm posi-drives.
The timber is ceiling batten timber… It is 37mm thick… the screws counter sink themselves.. I had a few poke the points through the other side.. so be aware that posidrives will sink up to 3mm into soft wood.


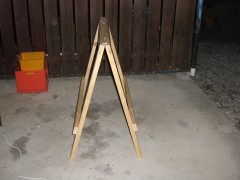
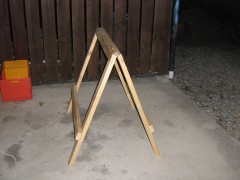
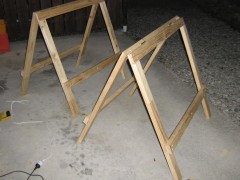
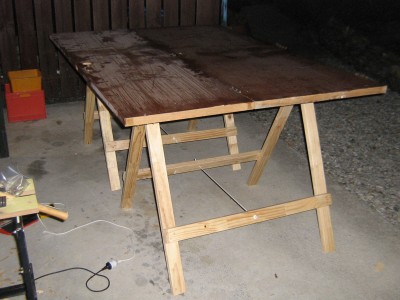
Finished legs.. here they are doing the Ruhmba… and the Tango.. lets face it they were made for each other.

And here they are supporting a pair of lazy teenager doors… they jut tend to lay around at present.. but when they mature and loose all their disgusting piercings and hardware.. the will be strong supporting members of the war games table community.. but that is another story…

hope you enjoyed this.. G night.
Show us your legs!

Well I have had a very nice weekend … reasons for being:

made progress half way through making war games table trestle legs.

Had a cool night at the new Hilton Hotel.. visiting three of the six bars over the evening.. beers, pizza, Port and Whiskey… and it is now my local.. being just down the road from my place..

Felt like visiting a plush Movie theater… very very beautiful place.. and comfortable too.. not noisy, plenty of staff to cater for your needs (see note 1) and made you feel social and at ease.

Hilton Hotel
Note 1: Compared this to the new Harvey Norman shop that opened in Timaru three or four years ago, had a massive staff… probably out numbering customers.. then it tends to dwindle with wise management of rosters.

However on to the important stuff.. (no photos yet, not that you really want to see me outside sawing timber with jeans that need a belt, from behind?)

Bob the bilder!

Anyways.. on to what I was up too:

Build two trestle legs to place game table on.
Bought , 16l/m ex 50x 40 batten, finger jointed untreated timber, $38 of stainless steel wood screws, 304 grade, bought them too long.. need to get more. Bought 4 hinges, $5.00 each. Bought 8 bolts.. got them too long as well.. these I will return and swap for smaller ones.

Gt timber home .. started to shape the timbers.. using my trusty wood chisel set and mallet with the Tenon saw I cut all the chiseling gutters and the face edges to about 24 Halving joints…

so now there all ready for finishing and assembly. Cost all up … $150. but the screws were expensive as I bought 200 screws.. I still have use for these though.
So probably it was $100 only.

Anyways.. pictures WILL follow.