
My most recent work with the US Infantry platoons has developed quickly over a period of two weeks.
The new spring weather has perked me up no end and my motivation has returned.
I re assessed my procedure and tested the dry brush highlight on the inked models and came to a conclusion that the benefit was minimal to the extensive time outlay for the result desired.
This step was immediately removed even though the first test model showed brilliant results.
I moved on to the varnishing stage and sprayed a Krylon Matt Varnish finish (a can I had in storage for about six years.. still worked well) which layered well and dried remarkably quickly.
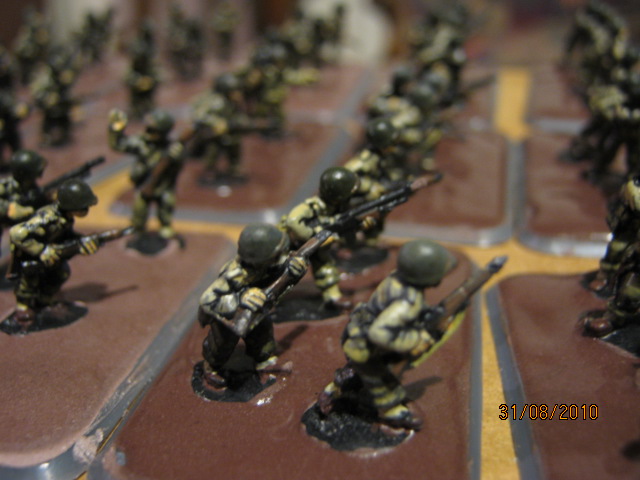
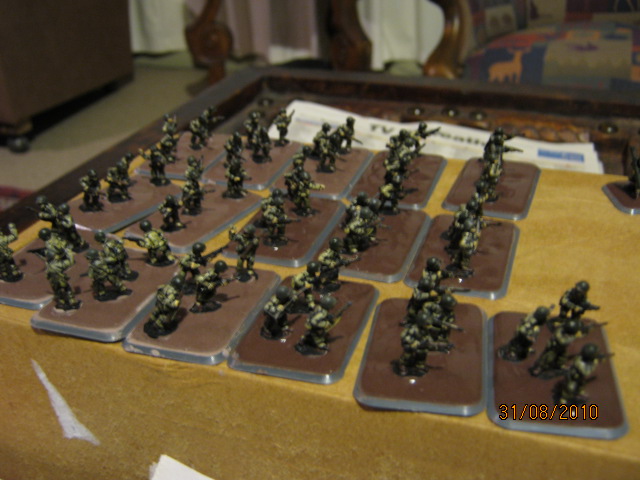
I then ordered the figures as to what poses were to which stands and set them out.
The bases were all collected together (including a whole stack of others i need for later projects) and when tot the garage where I set up a hobby rotary tool with a small round sanding cylinder. I then spent about 2 hours burring the top surface of the bases with a course sand paper so that the basing plaster will stick strongly to it later.
After this I had to sit down and do the one part I think I need to redesign in my process.
I had to pare away from the base of each soldier the PVA glue and card stuck to the bottom.
I am seriously considering some king of set of mails and block of wood with holes in it from now on with the use of blue tack to hold them on… but then the blue tack can go soft apparently and also the spray paint can stuff the tack.. any suggestions?
Anyways the base of each soldier still had PVA and torn card fluff so had to carved off with blade.. and later I used a file which was both quicker and safer.
The fun part… gluing the soldiers to the base with cheap Cyanoacrylate this took 2 nights… longer than I anticipated… I think I was cooking that night.
Super fun part.. ground basing.
Now we have options here.. some people use pumice paste.. I don.. I use what is easily available.. Plaster board filling compound, or Pollyfilla™
I use a special secret recipe… standard recipe is 2.5 parts filler to 1 part water.
I add 1 more part water and about the equal of 2- M&Ms sized parts of brown cheap poster paint.. colour.. dark Ochre Brown. The dark brown will fade out heaps when the plaster dries… but it will be a dusty brown colour.. it should look like a medium dampness friable soil colour. Also if your base ever gets chipped during play you won’t see a glaring bright white plaster.
As you will see in this photo I mixed a little browner in the stands to the right than the ones to the left. As of this morning (the day after) the dark brown has kept its dark shade mostly. So if you use about 3-4 M&M size blobs of paint you can get a very dark soil.
I use a deep BF blister scarp to mix my plaster in. I use a ½ teaspoon measure and it is important you do measure reasonably accurately if you want consistent results. Although the paint is proving difficult to measure.
I use a sculpting tool with a fine spear tang tip and a rounded paddle end tip. I used the paddle to mix the paint and plaster and when the figures are based close together the thin spear tip is used to place the plaster.
The consistency of this plaster is reasonably watery. It flows with a little guidance but isn’t so free that it won’t sculpt up to a point. It is best described as being like a soft whipped cream.
I then wipe my finger tips or a tissue along the base edges leaving the grey plastic edge, which looks really neat.
Later I will glue flock and grass to these… the brown colour will look good under that.
PS I tried green plaster once… never again.
")
")