Ok here is my wet palette. I’ve only been using it for a couple of days but it is fantastic. I’ve not really used it to blend paints which as far as I can tell a wet palette just makes easier. The primary advantage I can see is it keeps the paint wet and useful for well pretty much the entire evening (since I paint in the evenings). Really this palette is just based on Jen Haley’s (the Paintrix) article describing the exact same thing.
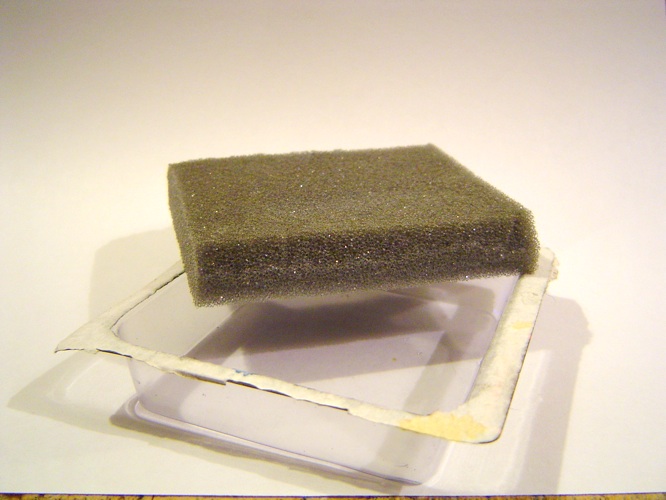 Here are the basic ingredients. The plastic from a fairly shallow flames of war blister. And a piece of Games Workshop foam with the edges on the bottom trimmed for a snug fit. It’s small but since I only paint for a few hours in the evening generally it’s plenty big enough for my purposes.
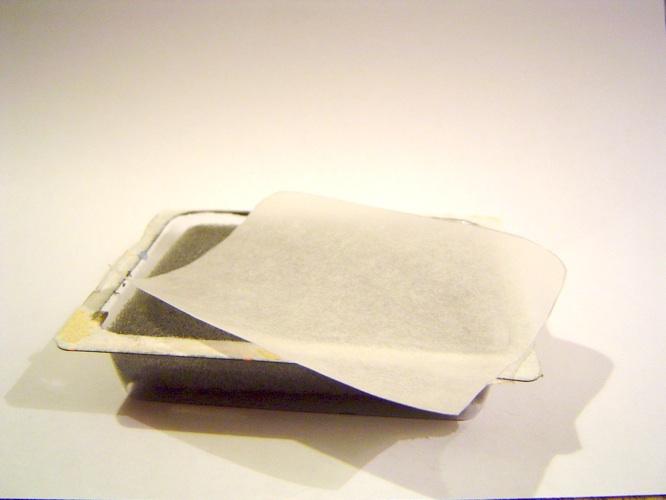 The foam in situ so to speak with a piece of baking paper for the semi permeable barrier cut to size. I created a card template so I can trace out and cut multiple sheets from the baking paper (Pams cause I’m cheap) at once. Since every time you use it you end up chucking away the paper at the end. With a palette this small though you can get uncountable (for me at least) sheets.
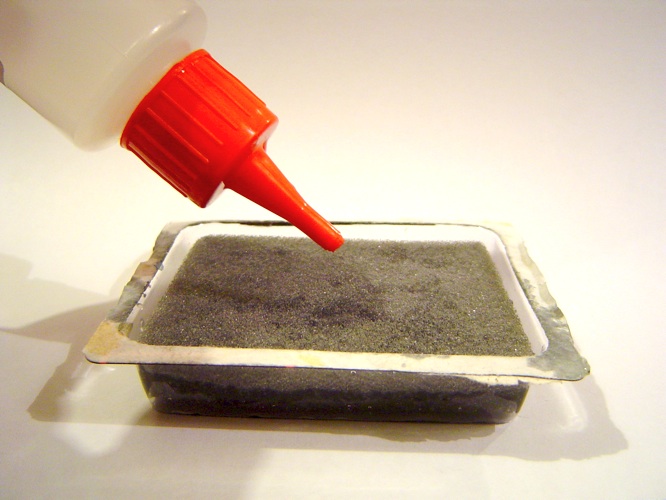 Ok here is the adding the water part. I’m not really sure how to show this picture wise and what I’ve done isn’t really sufficient. But at anyrate you want the sponge to be wet but you don’t really want so much water as to be pooling on top of the sponge like if you saturated it. To much water and the paper barrier also becomes saturated and begins to water down your paints, which is possibly not a bad thing but it’s nicer to be in control of that yourself.
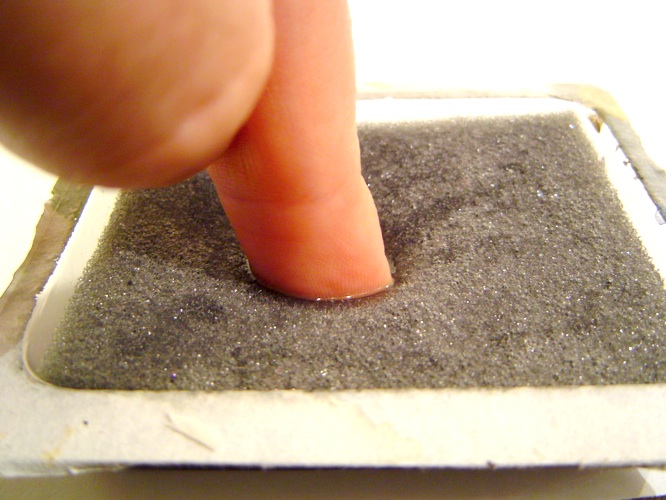 Here is probably a pointless photo of me trying to show how much water is in the sponge. There is a bit, it is a sponge afterall but it’s not overloaded. Ultimately you’ll probably figure out what works and what doesn’t when you start using it. It’s only water so you can add to it and remove it without difficulty.
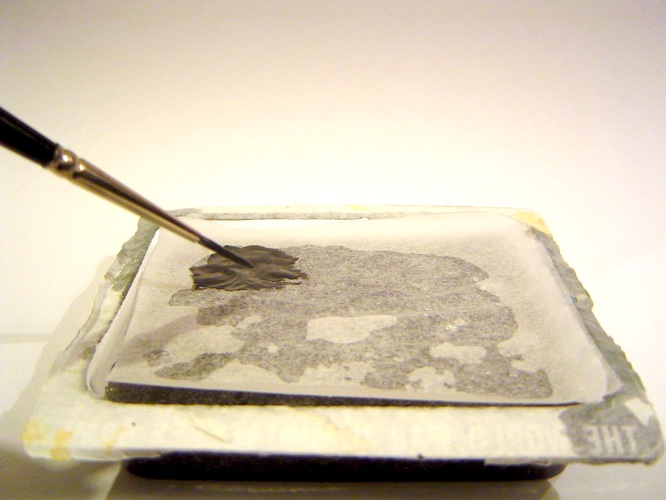 This is with the paper on and some paint on the palette. I’ve pushed the paper onto the sponge a little so you can see that it’s wet underneath. This keeps the paint cool and wet, to give you some idea of the benefit in this, that is vallejo german grey on the palette. That amount of that paint on a dry palette would be starting to dry in about 30mins, the pigment sticking together and the paint becoming crumbley and bitsy. So if I was painting a lot of figures I’d have to do lots of little drops every now and then to ensure I was using fresh paint. However on the wet palette that paint lasted all evening. The photo was taken at about 8:00pm and when I finished painting at 11:00pm it was still wet and usable.
")
")
")