Operation “Get cracking!” Pt 3

After working on the trial figures I re thought the order I’m working in with colours.

What drove this was the realisation that the leather strap on the US helmet needs painted to make the figures look great.
Also the brown colours typically but up to other colours that makes painting rifles in hands difficult.

So order is :

base : spray paint Dunkelgelb
Brown: boots, rifles, SMG’s, entrenching tools, pistol holsters and the helmet strap.
Khaki: Webbings, water bottle, some pistol holsters.
Olive green/grey: Knee, elbow patches and bags.
Black: Weapons metal. Boot soles, knife handles.
Flesh tone: Flesh
Olive Drab: Helmets and some pouches
Magic wash: all except for flesh.
Magic flesh wash: rose tinted wash to flesh.

So lets see how it goes.

Oh .. I have two mortars to be custom made.. as I seem to be short both of them and scavenge 5 x 30 cal Mg’s
This is what you get for buying second hand.

    Bye for now

Operation “Get Cracking” Pt 2

covershot

Well I finished two test solders/figures.
You will notice this is a habit I have started now when prepping to to do a production line of figures… I suggest this to anyone thinking of painting a platoon or more of figs… paint a couple from start to finish and get the process right and change things.

This one was good.. I changed my usual order in which the flesh gets painted. I do however have to change my formula for the dark or ink wash. I’m still getting bath rings forming on my wash. Dish wash soap doesn’t seem to help. I’m thinking the magic wash is going to have to be tried again.. although I will need to buy some “Klear floor” polish first.

So… here is the first wash over the spray coat of desert yellow. This is a pretty dark wash of Khaki by Tamiya liberally applied over

so here is a comparison photo of the finish

I then jumped ahead and painted boots and wood, webbing’s (khaki), helmet (olive drab), elbow and knee knee patches and bags (olive green) and flesh, I then fished the guns and binoculars in black.
The black wash followed (which didn’t smooth very well.

here is the eye candy..


So the result is that the was darkens the base colour too much over all and needs a wash of almost equal colour.. but tinted so that the shadow will sit in the low spots. Of course a dry brush would solve this.. but I’m hoping to avoid it.

Operation “Get Cracking!” – US airbourne

It took more than 2 years for the US to train their crack airborne Para troops for WWII.
I however want more for the up coming August offensive…

So I have done some research on painting US WWII airborne and apparently they had two uniforms..the 1942 and the1943.

The 1943 is defiantly more olive drab or dark green and I decided not to go for this but adopted the 1942 with the very light tan colored uniform.

Unfortunately there is no decent color from Tamiya paints that represents the uniform. So I decided to wing -it with colors and expect some variation any way in the final shade.

I have decided to use dunkelgelb or sand yellow… I will use some tinted shades.. much like inks to get the desired effect.

Here are some nice photos of what is desired
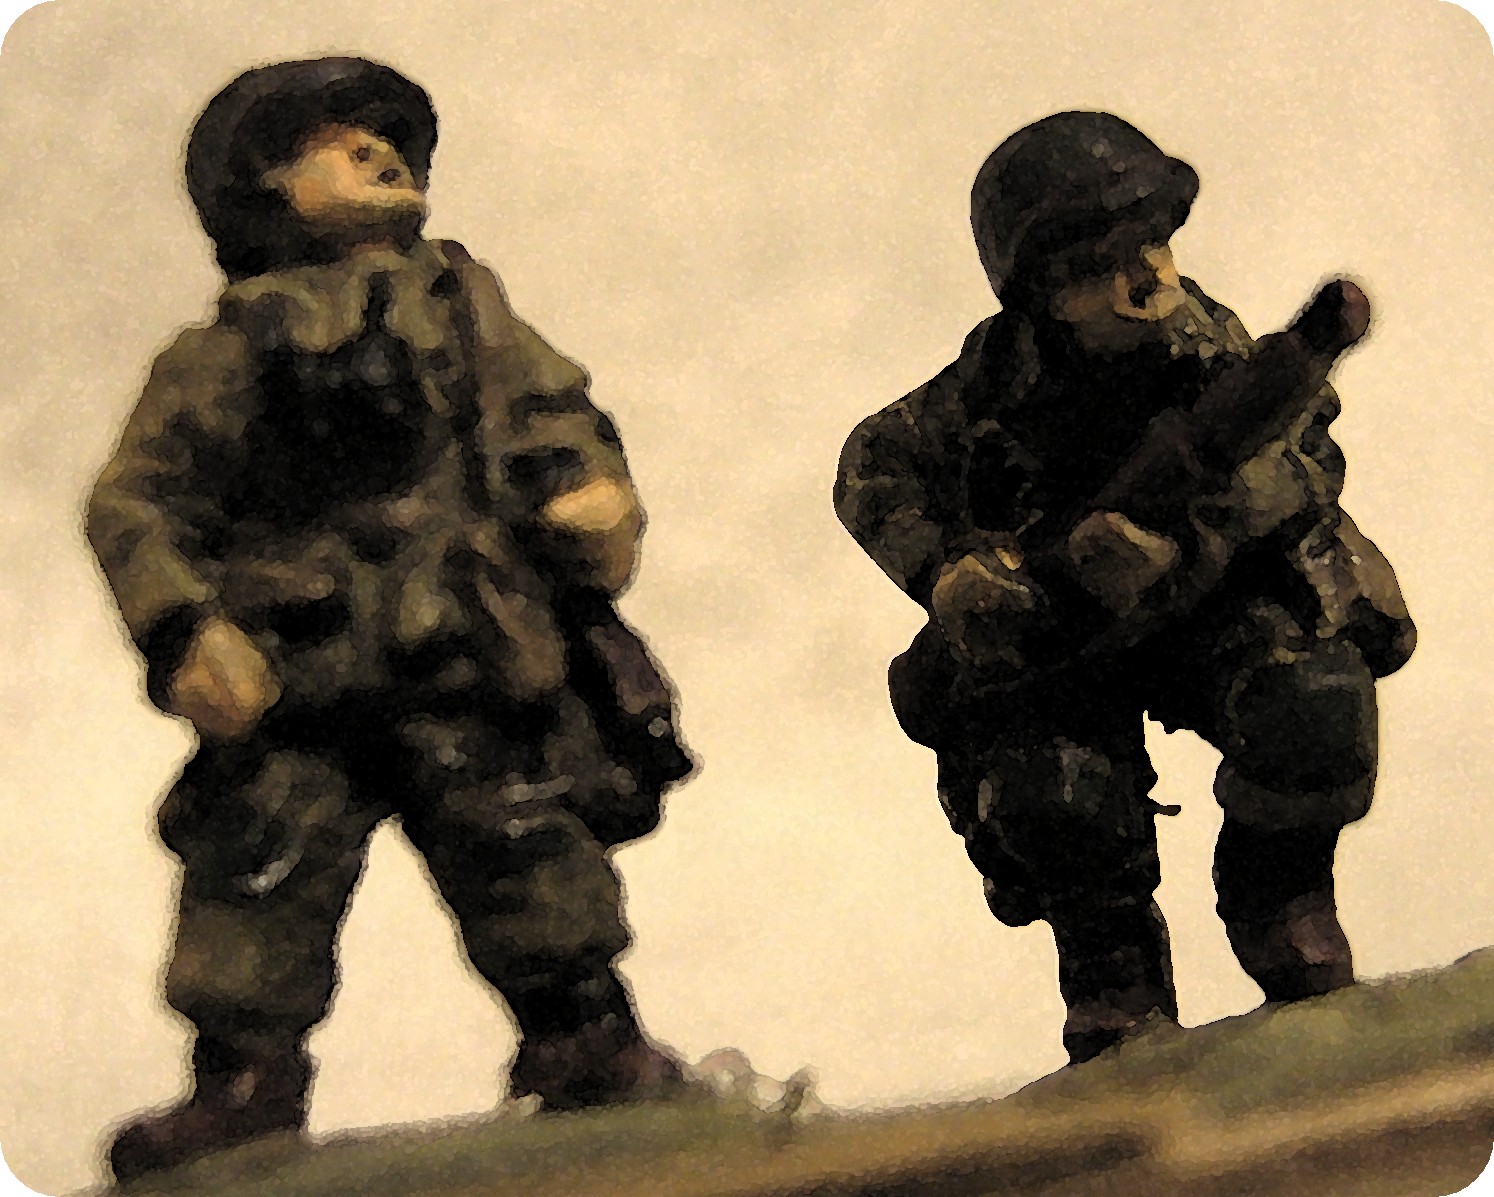
This shows the 1943 uniform in comparison… which is very green.


This beautiful figure is the basis of what I am trying to achieve.

On to business.

I have decided to use airbrush and washes/inks to make speed with this job. The desired finish is table top standard.. not display.
Because of the overall color scheme this is much more achievable as the trousers and blouse are all the same color.

Step one:
I have my figures glued to card strip and metal primed already. I just take the trusty snips and cut them to strips of troops.

Cut

Step two:
Assemble my work space… here I have my airbrush, paints, pots and all the other necessaries to air brush.


Step three:

I have mixed Tamiya XF-60 or dunkelgelb with a considerable amount of; Alcohol thinner 100% (ideally 90% works better), Liquifying agent, water, and a tiny amount of retardant.


The mix is very watery. If sprayed at too close a distance it will bead like water on the model. at the right distance it mists the model as a first coat. Because it has so much alcohol ad water in it, it dries real fast. Which means a second coat in about three of four minutes when your on a second cup of paint adheres beautifully.

And that’s is it so far… here are finished results today.


Now I will be brush painting next.