Konigstigers and the Paasche Talon Airbrush

This is my first real attempt at airbrushing my models.  That is to say with the exception of an F4 Phantom that I airbrused when I was about fifteen and a couple of evenings mucking around with Martin’s airbrush, this is my first attempt.  So not really my first attempt at all then.

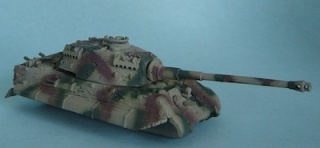
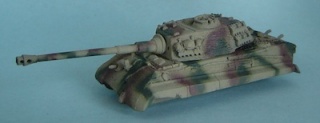
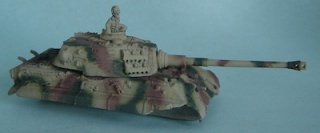
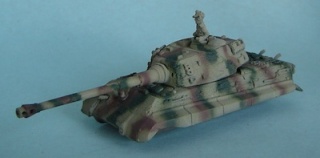
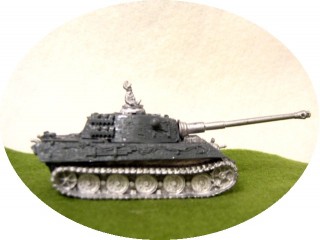
Anyway having recieved the Paasche Talon Airbrush set (http://www.chicagoairbrushsupply.com/patastsetg1.html) for which a good review for the Talon itself can be found here http://www.armorama.com/modules.php?op=modload&name=Reviews&file=index&req=showcontent&id=3675 this was my first crack at using it apart from spraying a bit of paint and water on a piece of card.  So naturally I chose two of my most expensive flames of war models to start with.  To be fair these have been sitting around for a while because I wanted to airbrush the camo scheme on them rather than attempt to paint it on with a real brush, so they were in part why I got the airbrush.  Still I probably should have practiced a little more.

Base coating the dunkelgelb was fantastic.  So much so I’ve since basecoated some warhammer stuff.  So much faster than using a brush and a better finish.  I notice base coating stuff gives me the opportunity to practice with the brush a little controlling the flow of paint etc.  After the yellow I painted on the green and brown.  I’ m pretty happy with it.  There are a couple of areas where I’ve got a bit of water spray (which wasn’t moisture I just had quite thin paint and allowed it to dump a bit much of it on the model in one spot, it’s this bit I need to get better at most of all).

Not totally sure where to go from here, whether I try to fix up the couple of splatters with more yellow with the airbrush or some careful paint brush work, inks and drybrushing.  At any rate I’m reasonably happy with how they turned out and with the airbrush too.
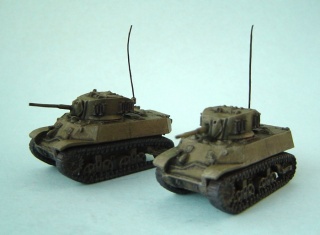
New Stuart V’s

Two more tanks off the ranks.  Bought from toyworld where they were selling them about half price (clearing out their stock, again).  Since I needed a fourth anyway as some lists require four rather than three which was what I had.   Got the extra one because…. well you can’t really have enough light tanks, they always have served me well.  Anyway now I have five, painted in three batches so all a bit different but not to worried.  These were painted I think using Russian Green (surprising I can’t recall was only a week ago), I then gave them a bit of a wash with black, green and brown, (just trying to work out what looked best, for what it’s worth green wash is too bright, brown is good and dirty looking, what doesn’t devlan mud work with? and black looks grimey though can be a bit harsh, if I was doing it again I’d probably do two brown washes or a mix of brown and black).  After that I mixed painting on and drybrushing more russian green (or whatever green I was using) just to smooth out the areas where the wash shouldn’t be.  Drybrushed a little black in areas and khaki to simulate dust and grime.  Tracks were german grey, with black wash and then german grey again with a little bit of khaki drybrushed on later.  Anyway they’re ok.  Did photograph all five together but I mis-focussed and picked up the rear tank which mean the majority of the photo was out of focus.  I’ll redo it later.

Oh one other thing, I used a pencil to go over a lot of the metal bits (which I accidentally painted over some of).  Like the guy did on his terrain building site.  Worked really well, a lot more subtle than metallic paint.


King Tiger

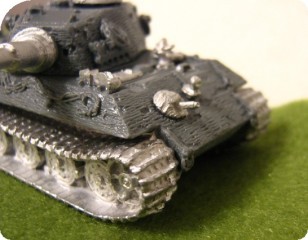
Getting the king tiger ready for operation Market Garden.

I have assembled the tank except the mud flaps and side skirts… because I want to be able to spray paint this monster.

Any ways.. as per usual.. some pictures.

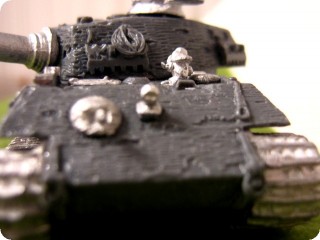
Oh.. I had alot of trouble determining how the drivers hatch opens..

The battlefront pages didn’t have any photos of the configuration with hatches open… but I did find a good photo

hatch photo