Wood Elves Durthu

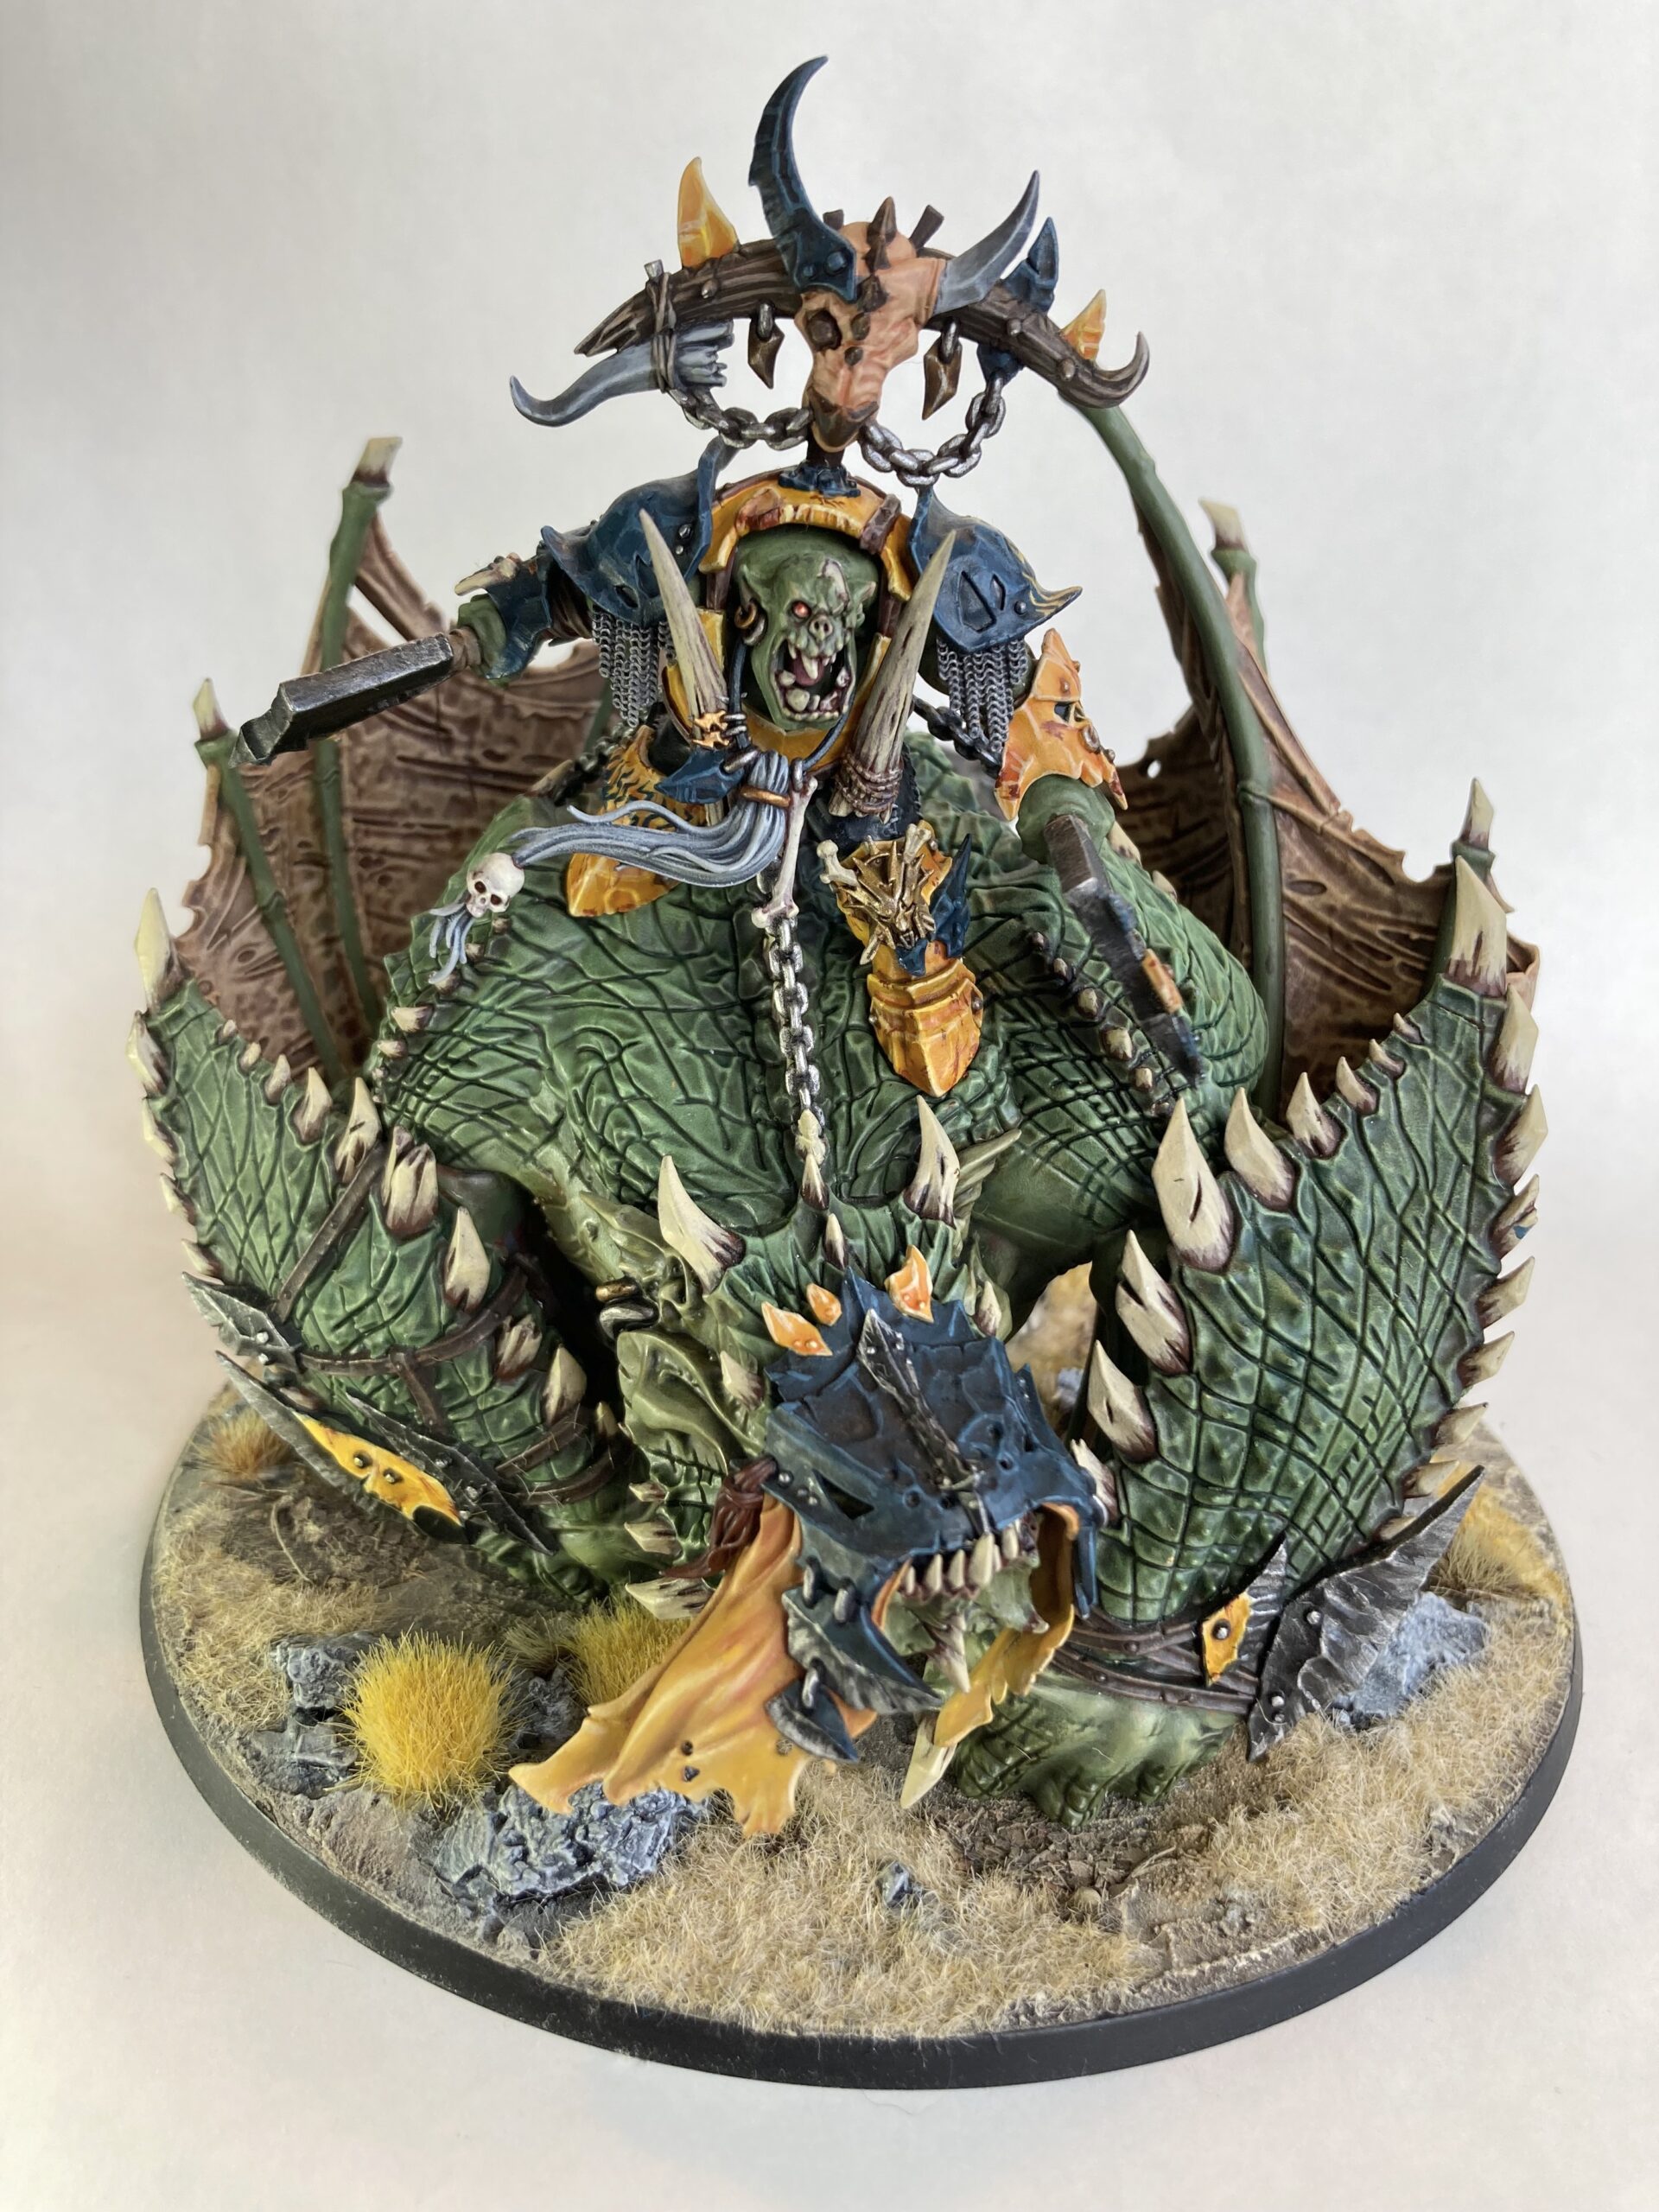
So I got this fellow for my birthday and was eager to paint him and just as eager not to mess it up.  Obviously putting  paint on the figure was a good start on the way to messing it up so I was a bit torn.  At a $113 doing a poor job would be a disappointment difficult to accept.  Anyway having it sit in a box forever would also be a shame so I stuck it together and primed it.

I recently changed my superglue from some rubbish GW stuff to some traditional salleys glue.  The later sticks fast on contact and is super strong unlike the GW stuff which has become weak and tacky.  Unfortunately this meant that when I stuck it together I didn’t have much time to position it and alas the sword and the head aren’t quite where I would have like them to be.  Rectifying this mistake would have required a saw and some greenstuff, and I wasn’t prepared to go there in light of my desire not to mess the figure up, wimp I know.

it is a beautiful model very three dimensional which made it tricky to paint, although not as bad as I thought it might be.  It’s also surprisingly durable, though I still managed to break of a bit of a branch and the longer of the two splintered pieces of wood sticking out his elbow.

I’ve tried to faithfully reproduce the paint scheme even though I have few of the colours and was constantly mixing paint as a result.  Wasn’t sure about the blue, still not to be honest.  Was tempted to make the blue mostly grey but struggled to get it right so just went with the blue.  Anyway very happy with the result, it is a stunning piece and whatever you think of the colour scheme it is a striking piece and I believe/hope that I’ve done it justice.

(hmm I think the blue looks even bluer in the picture too :-\)
Skaven Warlord

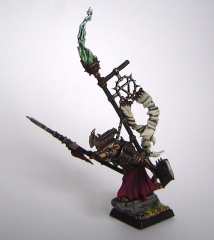
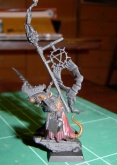
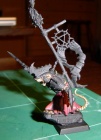
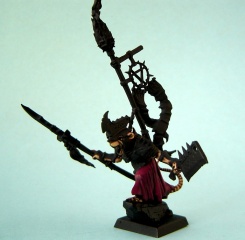
Here is the finished (or almost finished) Skaven Warlock.  It’s the same one that I started in an earlier post and was busy detailing my painting of it step by step.  Obviously that flew out the window after it sat in the cupboard for about a month and I decided that I better just finish it and be done with it.  I’m still annoyed that I tried going down the road of a base coat of gold on the armour, I don’t know what I was trying to achieve.  Took more paint and time to rectify which meant that I have been rather hesitant to do a lot more to the armour as I did not want to obscure any of the detailing that was slowly being painted out.  I haven’t painted on any skaven runes onto the banner yet and the green warpfire is not quite right either, so I like to think that I might go back and finish those bits but realistically I think thats unlikely.  All in all though I think it’s turned out pretty well.  Not one of my best pieces but then certainly not one of my worst.

Skaven Warlord

At Martin’s request here is my step by step painting of the Skaven Warlord from the Island of Blood box set.  Apologies for the quality of the pictures.   I couldn’t be bothered getting the tripod and the light box etc out so just snapped them on my table as I painted it.  A poor decision.  As was the decision to leave the flash on.  I’ve chucked most of the photos but for the sake of struggling on with this I’ve left two pictures in and taken a third in the light box with the tripod.  You should use your imagination to fill in the blanks :-/

I’ll forgo the picture of a grey or even a primered figure. But rather obviously I assembled and undercoated the fellow with dulux spraykote matte enamel black.  (or something like that, is cheaper than citadel primer and is just as good, if not better).  Didn’t require any puttying really (I hate puttying the cracks) but these new figs use overlapping pieces a lot so for the most part there is no puttying to do.  In fact the Island of Blood figures as a whole have had quite some thought put into the assembly of them, I have been hugely impressed.  For the most part they snap together and you can barely tell where the individual sections meet.  Where the joins aren’t hidden behind an overlapping piece many of them zig-zag which like camouflage is a lot harder to pick up than a straight line.

Step 1.  Painted the Flesh and Fur areas Bestial Brown (as is fitting).  Painted the Robes Scab Red.  Wasn’t too worried about getting a perfect even coverage.  I use a wet palette (see some earlier post on making a wet palette) so the paint can be a little thin allowing the black undercoat to show through a bit on the raised areas, but these get covered in later stages so it’s no big deal.

Step 2.  Wash the Flesh and the Fur areas with Devlan Mud.  Washed the Red Robes with Devlan Mud (have I mentioned Devlan Mud is the most awesome wash).   Generally I paint the wash in where it’s supposed to so the raised sections don’t get any.  This kinda helps later with blending however I was real lazy with the brown and just went over everthing.

Step 3.  Wash the Fur areas with black wash, just to darken up the fur areas in contrast to the flesh.  With a slightly thinned Bestial brown repainted the flesh areas, trying to stay away from the recesses, so they remained darker in contrast.  Repainted Scab red onto the raised areas of the robes.

Step 4.  Highlighted the individual tufts of fur with Bestial brown.  Mixed Bestial brown (66%) with Bronzed flesh (33%) and highlighted the flesh areas.  Mixed Ruby red (50%) and Scab red (50%) to highlight the robes.

Step 5.  Mixed Bestial brown (33%) and Bronzed flesh (66%) and highlighted the flesh areas.

So far that is it.  Not really a great deal I realise but I thought I’d chuck up what I had whilst it was still vaguely fresh in my mind what I’d done.  Below is a better photo, not sure what is up with the knee, it really isn’t smudged? like that but at anyrate gives you a slightly better indication of colour.