Potts Panzergrenadiers

Whilst visiting for a gaming weekend prior to my birthday Mike bought me a birthday cake and some vouchers.  When he was forced to leave early to return home he left his FOW panzergrenadier and us airborne companies.  With Martin having organised to paint up the airborne I grabbed the german stuff (also took the stuarts and the m8) in order to paint as a gesture of thanks.

The stuarts and m8 were kinda caked in thick bright mid green paint so I tossed them in some greenstuff.  When they came out the two remaining .50cals broke off, I looked at fixing or replacing these but gave up on the idea.  The mount needed bored out again and the resin proved a bit to brittle.  One hatch door was missing so, a 37mm main gun.  I replaced the gun with a bit of brass rod and moved one of the hatch doors around and closed them so the commander was the only model with open doors or in this case open door.  I primed them matt black enamel (spray can) and then airbrushed khaki green.  Wasn’t happy with the colour so sprayed over with a dark green.  Washed with brown wash and painted tracks GW scorched brown, drybrushed GW codex grey.

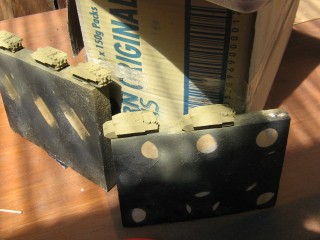
Stugg’s, Tiger, Halftrack and Kfz 17s.  These were unpainted and just required some disassembly in order to paint them (taking tracks off essentially).  Again primed matt black enamel and then airbrused tamiya dark yellow (as opposed to tamiya desert yellow).  Next painted on the camo scheme, a couple of patches where the brush sputtered and made little mistakes but nothing that couldn’t be fixed.  I always find painting camo nerve wracking I’m so worried that I’m ruining a decent model, it feels wrong and often a first glance it looks wrong.  After I was done I washed them with Agrax Earthshade (GW brown wash).  I really needed to water this down or put a bit of floor polish in it because this applied quite a strong brown filter to the yellow which looked proper tan coloured when it dried.  To rectify this and any mistakes with the airbrush I drybrused dark yellow carefully around the camo scheme.  Once satisfied with the finish I then drybrushed some light bleached bone picking up the edges (this seems to have mostly disappeared after varnishing).  Painted tracks GW scorched brown, drybrushed GW codex grey.

The infantry I snapped off their bases and thinking them cleaned up after a cursory look I primed them.  Painted some with camo smocks and some with fieldgrey.  Not much else to really.  I found that they weren’t cleaned and had some horrible flashing and mold lines.  I painted over most and cut away the worst but I was trying to bang these out in good time some wasn’t keen to start over on them.  In the end I don’t think they’re too obvious.  Other thing of note is that one stand and a couple of other guys look to be some other manufacturers (ie not battlefront) russians instead of germans.
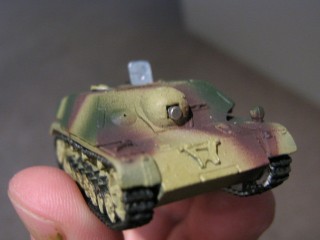
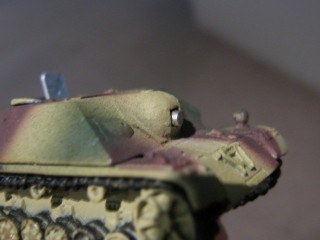
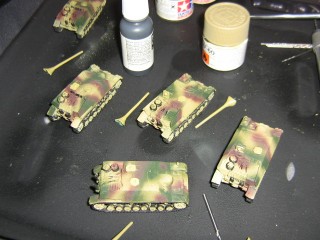
Jagdpanzer iv/70 – speed build

Ok here is a very long artical about a very quick build.

I recorded how long I worked on these models.. not in one continuous activity but in snippets of work.

SO here goes

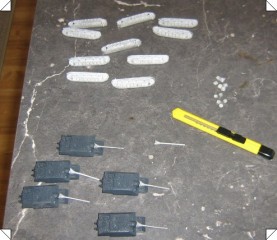
11:50 unpack blisters


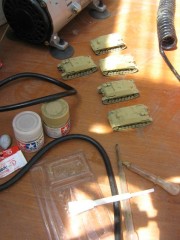
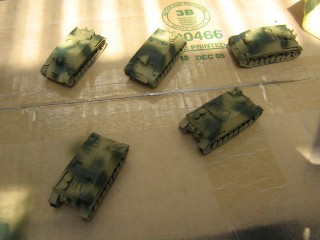
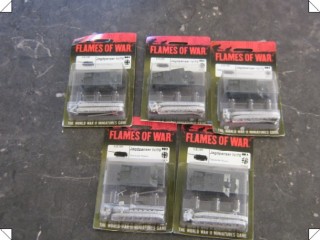
The 5 tanks in blisters.. these are OOP now.

Cleaning up the parts of flash
11:37 clean tracks

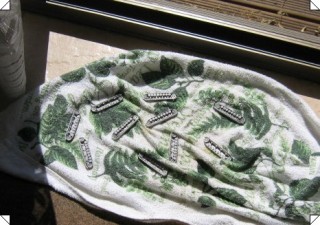
11:45
After washing then drying them in the sun on a towel.

12:15
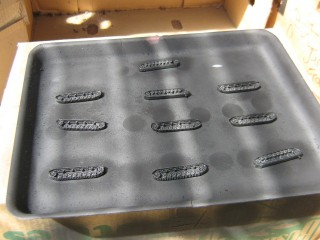
Priming the tracks.
Note I did not prime the hulls because the resin is dark grey and this saves time.

12:30 – 1:00
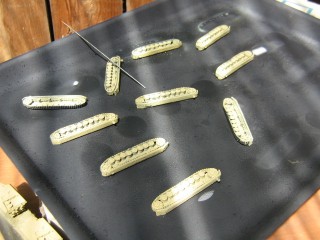
Base coating in dukelgelb with airbrush

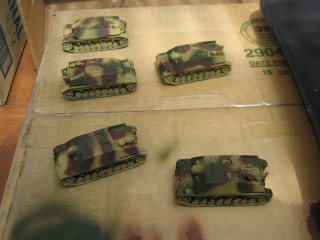
Base coating the hulls


1:25 – 1:45
Gluing on the tracks to the hulls


1:25 – 1:30
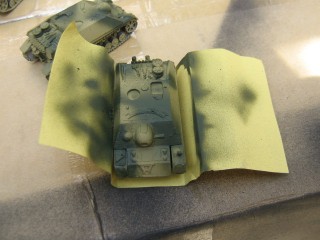
Using a template mask to paint the green camouflage but only on the hull and not on the road wheels.

Green on

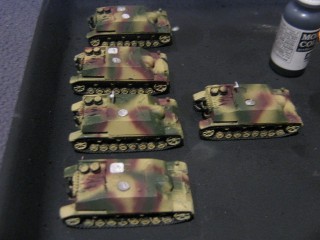
Brown on
1:30 finish

2:30 – 3:10 – painting tracks

Hatches on
7:00 – 8:30 — painting tracks and fluffing around with fix ups and barrel painting and magnets
9:00 am next morning — 9:45 detailing

Gluing on magnets for holding the barrels


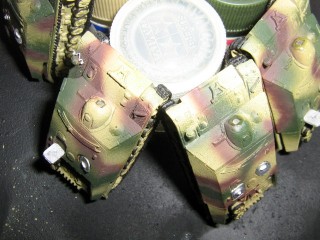
Fitting barrels and fixing he weak set. The magnets were too small for he weight of the barrels

6:45pm — 7:00 pm green stuff barrels.

Still some stuff to go… but otherwise looks like it has taken 5hrs50 mins
That’s an average of 1 hour and ten minutes each.

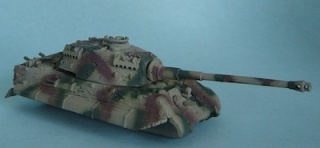
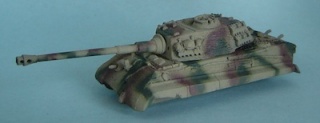
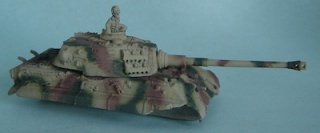
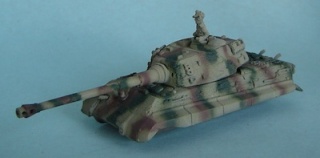
Konigstigers and the Paasche Talon Airbrush

This is my first real attempt at airbrushing my models.  That is to say with the exception of an F4 Phantom that I airbrused when I was about fifteen and a couple of evenings mucking around with Martin’s airbrush, this is my first attempt.  So not really my first attempt at all then.

Anyway having recieved the Paasche Talon Airbrush set (http://www.chicagoairbrushsupply.com/patastsetg1.html) for which a good review for the Talon itself can be found here http://www.armorama.com/modules.php?op=modload&name=Reviews&file=index&req=showcontent&id=3675 this was my first crack at using it apart from spraying a bit of paint and water on a piece of card.  So naturally I chose two of my most expensive flames of war models to start with.  To be fair these have been sitting around for a while because I wanted to airbrush the camo scheme on them rather than attempt to paint it on with a real brush, so they were in part why I got the airbrush.  Still I probably should have practiced a little more.

Base coating the dunkelgelb was fantastic.  So much so I’ve since basecoated some warhammer stuff.  So much faster than using a brush and a better finish.  I notice base coating stuff gives me the opportunity to practice with the brush a little controlling the flow of paint etc.  After the yellow I painted on the green and brown.  I’ m pretty happy with it.  There are a couple of areas where I’ve got a bit of water spray (which wasn’t moisture I just had quite thin paint and allowed it to dump a bit much of it on the model in one spot, it’s this bit I need to get better at most of all).

Not totally sure where to go from here, whether I try to fix up the couple of splatters with more yellow with the airbrush or some careful paint brush work, inks and drybrushing.  At any rate I’m reasonably happy with how they turned out and with the airbrush too.