Devlan Mud alternative wash

A apparently you cannot get the Devlan mud wash anymore I looked for an alternative and this little recipe was found at

I like the sound of it.

I remember some years back chatting to a guy at polytech who painted heaps of 1/72 scale soldiers and often would over coat them in PVA glue. I was skeptical but apparently it made the paint stay.

The washes we had from GW flowed well and dried well… so I suspect this recipe will work.

All I need to to get some Matt medium.

…my “devlan mud” style wash is:
3 drops elmer’s(PVA glue)
10 drops matte medium
5 drops water
10 drops brown ink
1 drop black ink…

Edit: 18th October.

I have been looking to make up some more Devlan Mud wash as it is so good I have been using it all up.
However one ingredient is horribly expensive.
Brown ink. Once the colour used by financial auditors in the ledgers it has fast gone out of vouge in the stationary market. You can’t buy big bottles of it. You can only get little 25ml bottles for a reasonably high price.

So I have decided to make an alternative. I will be trying it out soon.

Instead of 10 drops of brown ink I will try using Burnt sienna dye or dye powder in the mix.
Dye is very strong in colour and depending on how you dilute it you can change its properties.
I bought some FAS dye for about $12 and this is enough to make. A 30gm bottle of dye looks to be about enough to make 7 cups of dye for art purposes. So may make about 5 cups of ink substitute.
It’s also Kiwi made and that’s cool.
SO $12 for about 7 x 250ml Burnt sienna dye or $12 for 15ml of W&N brown ink.
I will use the last of my first batch and do a comparison on a texture soon.
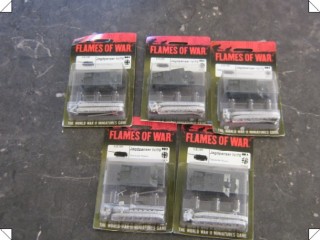
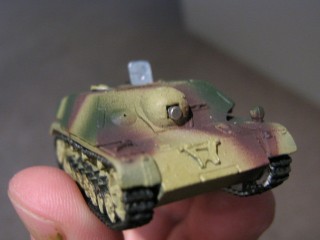
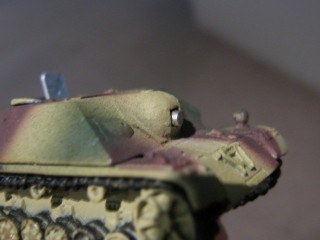
Jagdpanzer iv/70 – speed build

Ok here is a very long artical about a very quick build.

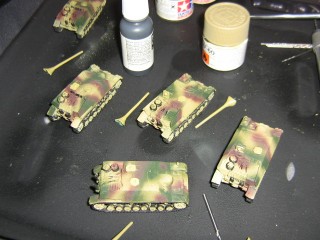
I recorded how long I worked on these models.. not in one continuous activity but in snippets of work.

SO here goes

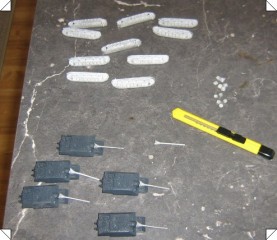
11:50 unpack blisters


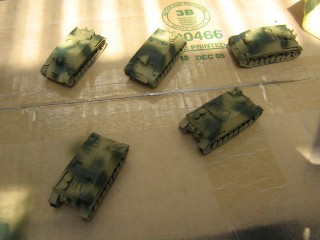
The 5 tanks in blisters.. these are OOP now.

Cleaning up the parts of flash
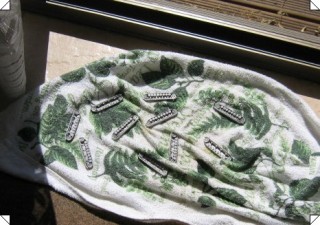
11:37 clean tracks

11:45
After washing then drying them in the sun on a towel.

12:15
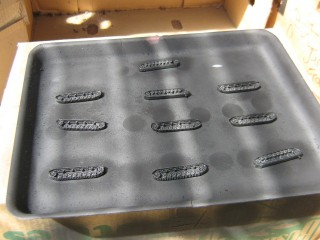
Priming the tracks.
Note I did not prime the hulls because the resin is dark grey and this saves time.

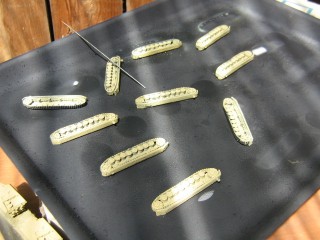
12:30 – 1:00
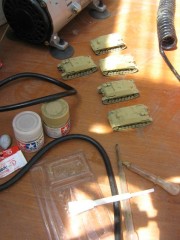
Base coating in dukelgelb with airbrush

Base coating the hulls


1:25 – 1:45
Gluing on the tracks to the hulls


1:25 – 1:30
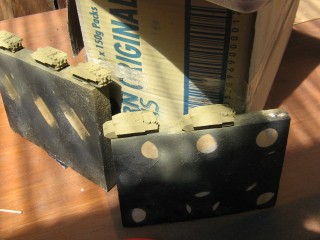
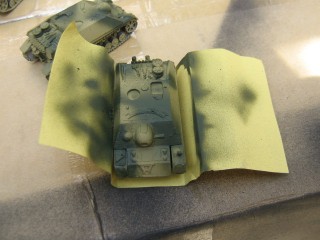
Using a template mask to paint the green camouflage but only on the hull and not on the road wheels.

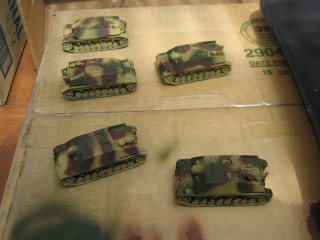
Green on

Brown on
1:30 finish

2:30 – 3:10 – painting tracks

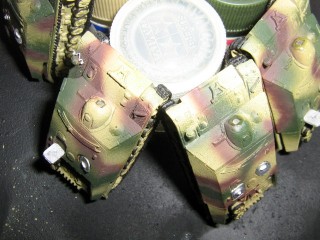
Hatches on
7:00 – 8:30 — painting tracks and fluffing around with fix ups and barrel painting and magnets
9:00 am next morning — 9:45 detailing

Gluing on magnets for holding the barrels


Fitting barrels and fixing he weak set. The magnets were too small for he weight of the barrels

6:45pm — 7:00 pm green stuff barrels.

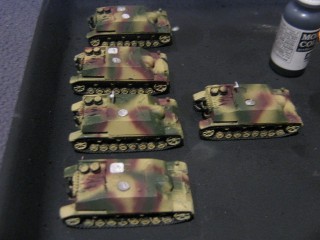
Still some stuff to go… but otherwise looks like it has taken 5hrs50 mins
That’s an average of 1 hour and ten minutes each.

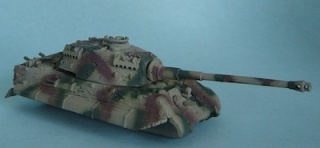
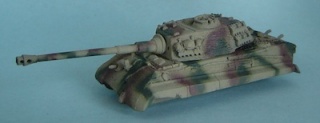
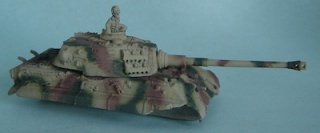
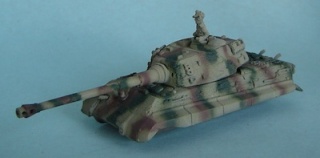
Konigstigers and the Paasche Talon Airbrush

This is my first real attempt at airbrushing my models.  That is to say with the exception of an F4 Phantom that I airbrused when I was about fifteen and a couple of evenings mucking around with Martin’s airbrush, this is my first attempt.  So not really my first attempt at all then.

Anyway having recieved the Paasche Talon Airbrush set (http://www.chicagoairbrushsupply.com/patastsetg1.html) for which a good review for the Talon itself can be found here http://www.armorama.com/modules.php?op=modload&name=Reviews&file=index&req=showcontent&id=3675 this was my first crack at using it apart from spraying a bit of paint and water on a piece of card.  So naturally I chose two of my most expensive flames of war models to start with.  To be fair these have been sitting around for a while because I wanted to airbrush the camo scheme on them rather than attempt to paint it on with a real brush, so they were in part why I got the airbrush.  Still I probably should have practiced a little more.

Base coating the dunkelgelb was fantastic.  So much so I’ve since basecoated some warhammer stuff.  So much faster than using a brush and a better finish.  I notice base coating stuff gives me the opportunity to practice with the brush a little controlling the flow of paint etc.  After the yellow I painted on the green and brown.  I’ m pretty happy with it.  There are a couple of areas where I’ve got a bit of water spray (which wasn’t moisture I just had quite thin paint and allowed it to dump a bit much of it on the model in one spot, it’s this bit I need to get better at most of all).

Not totally sure where to go from here, whether I try to fix up the couple of splatters with more yellow with the airbrush or some careful paint brush work, inks and drybrushing.  At any rate I’m reasonably happy with how they turned out and with the airbrush too.