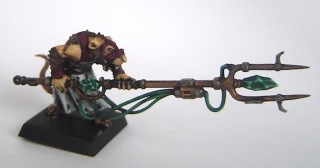
Having painted both rat ogres I was keen to get the packmaster that goes with them out of the way. Pulled him out of the cupboard as an primed matt black rat and went to it. Two hours later this was the result, which for me, a terribly slow painter who generally paints with one or both eyes on the telly is quite an achievement, albeit this guy is pretty small. I haven’t got around to basing it yet rather obviously. Quite happy with how the bronze colour came out, on both this and the rat ogre. Can’t remember the colours I used but worked my way up from something like copper to shining gold or some such rather than using the same colour and washing and highlighting.
Skaven Rat Ogre 2
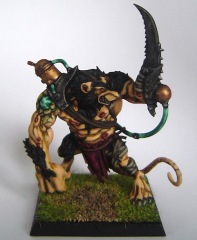
The second of the two rat ogres in the Island of Blood box set. Since this fellow was painted probably more than a year after the first it’s surprising if they look similar at all, since I couldn’t remember what I’d done on the other. This rat is perhaps more interesting with the warpstone chunk in the shoulder, the blade and … whats that, a kettle he’s sporting? He has fewer scars and stitching and bandages though which looked pretty good I felt on the first rat ogre. At some point I’d base coated most of him bestial brown (over a black primer). So from that point took me about 7 hours (whilst watching tv).
Orses – To get the can and face the gun?
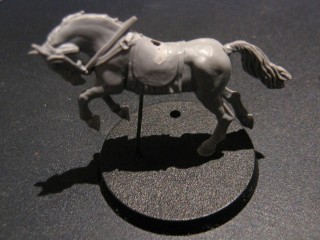
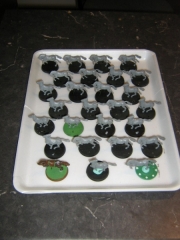
Rohirim – The horse Lords project is progressing. There are 27 Horses and 26 riders in this batch. I have prepared the horses ready for the can of primer paint and the following Air Brush gun for he base colouring. Preparation of these was extensive for a large batch job. Normally I would get more detailed in conversion work but I have left these pretty much stock standard and where the repairs were made they are for function not beauty. I’ll walk through the process plus comments..
- Horses were bought and luckily most of all them were not glued together (amazing I know) and neither glued to bases or painted in any way.
- Some were broken at the typically one foot used to anchor he model to the base. These where pinned back together at the ankle and a wire stay was pinned through the torso to base to give real support.
- All flash and sprue that was badly left on the models were removed with a hobby blade. These horses had been crudely removed from the sprue but at least not ripped from the sprue.
- Each horse half was filed to remove mold lines and align the body half’s nicely. Wen painted you won’t see a line up the horse leg or along any belly or back.. they definatly don’t look like horse wearing hose.
- Each half was glued on the joint faces with plastic cement and firmly pressed together to weld the model together.
- The body is again filed along the glue extrusion lines.
- Loosely fitted to the bases and standing ready for priming and base coating.
