Boots on the ground

Some progress.
Michaels painting gymnastics has spurred me on to paint some more myself.

I had been a bit lax between my boys needs, us having colds, preparing for Christmas.. those cakes don’t make themselves and I had been feeling a bit off and had terrible shaking hands latley.

Anyways…

The new 0.5mm airbrush needle and nozzel arrived from Ophiir and will use that later on the tanks.
I have made some progress with the static grass applicator… just need to finish it.

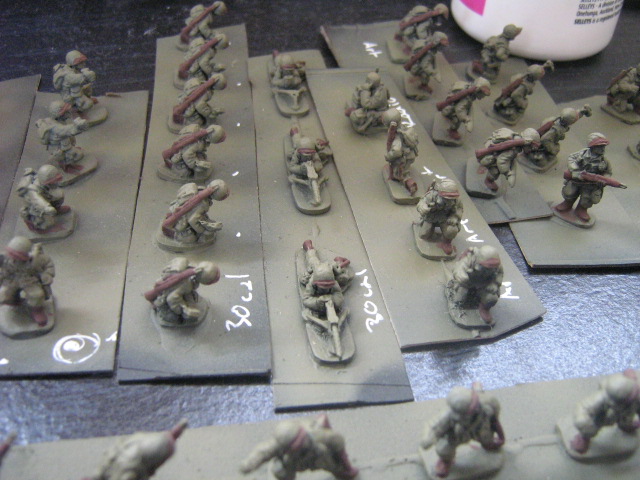
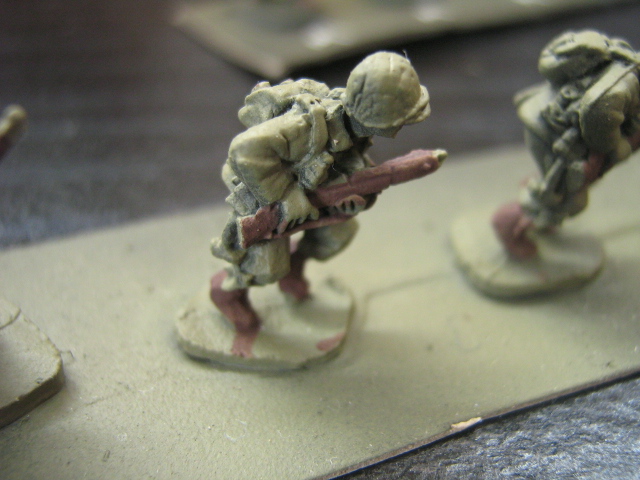
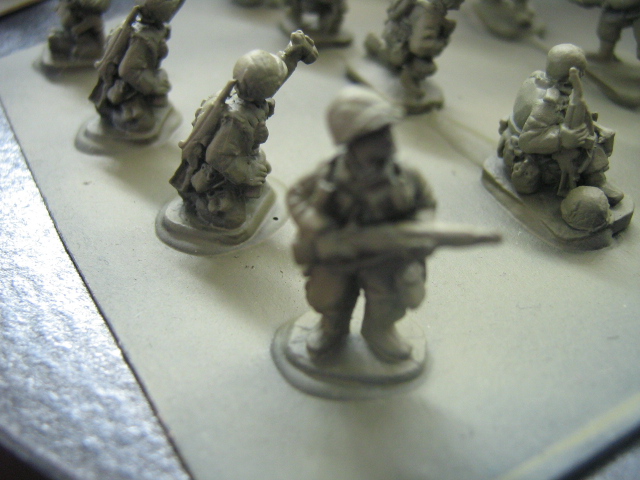
Finished painting the brown on wood and boots and helmet straps.
Alot of overpaint at this stage.. but he helmets get a paint of Olive drab and that leaves the brown helmet straps which looks real cool.
There is no leggings on these guys .. so boots are painted right up to the trousers.
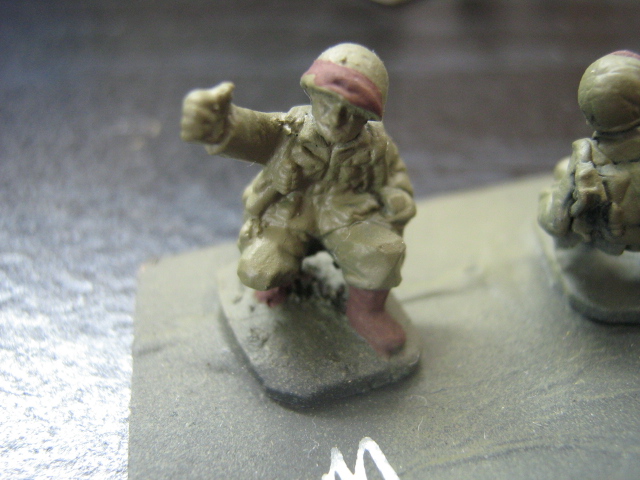
The face is the only part painted in flesh tone as they wear yellow nubuck leather gloves. Thats the next stage.
Metal is being painted black so thats why alot of overpaint onthe guns occours.. which is cool because faces are usually real hard to paint when there up close to guns… no problem this way.
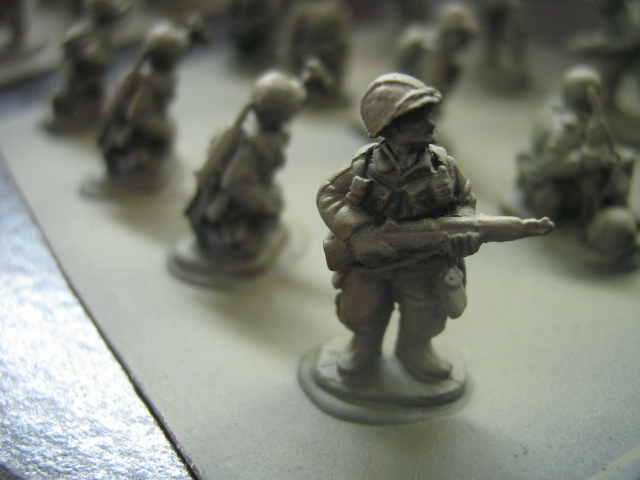
anyhow the pics..

Classic thompson MG troops

Staff sgt pose
Staff sgt pose
Carbine
Carbine
Another carbine
Another carbine

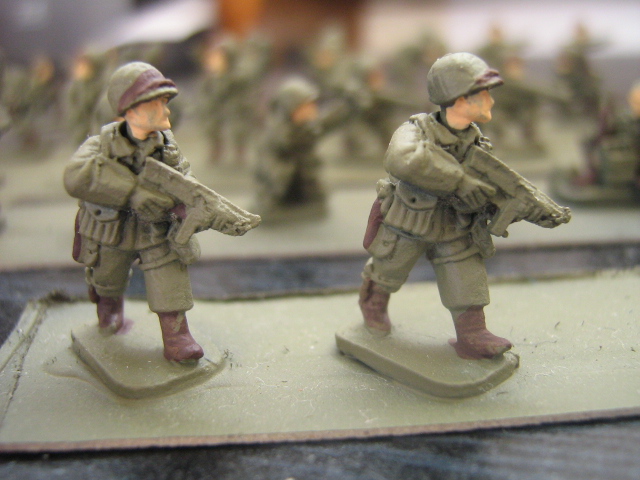
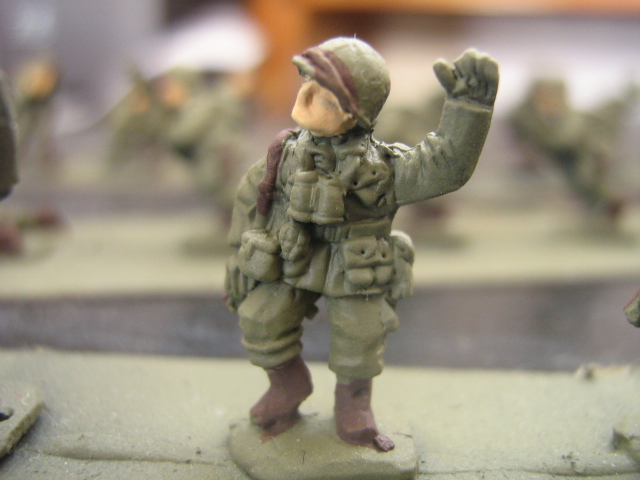
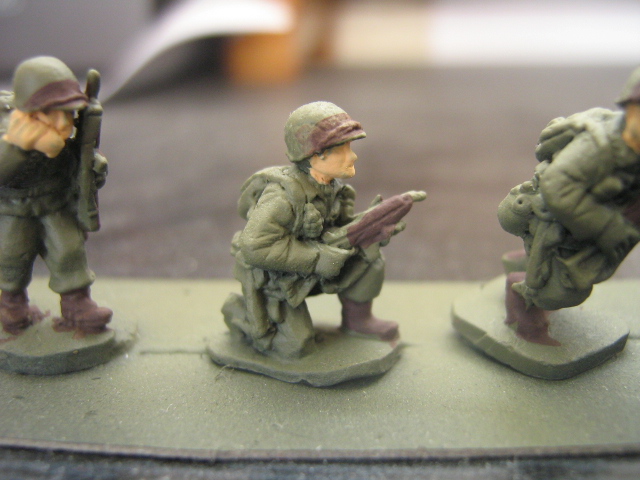
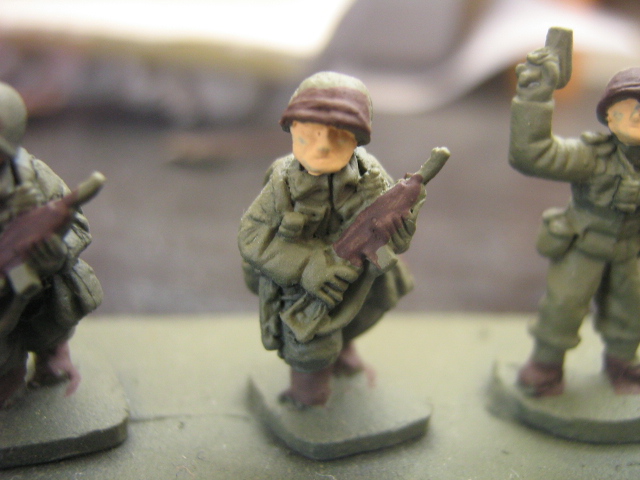
These look rough.. but when finished will look great… just wait and see.

Boots on the ground

Boots on the ground….

A nice name for the operation currently on my painting bench.

152 figures to paint, seven Sherman tanks and 8 x 75mm pack howitzers

To date I have made some nice progress.

Stripping all the figures was a mixed bag.
Most stripped like dream.
Half the guns and some of the figures had a very thick dark green enamel oil based paint and that took not just simple green but the brass wire brush to get that off.

The guns had alot of super glue and blue tack on them and that was covering up good detail but holding it together remarkably well.

I cleaned this all off and I drilled the gun bearing and pinned the barrel to the carriage… which looks great. I used a small amount of green stuff to stick the gun barrel angle covered with a minute amount of super glue. So those are now finished and ready for priming.

Meanwhile the figures were all glued to card and primed with KearKote(TM) black metal primer and they look good.

Some parts were missing and I easily managed to get some replacement parts from Battlefront who are just totally awesome to deal with when you need some parts replaced. I really do love dealing with them for my miniatures.

I then went to base coat the airborne in their distinctive colour. I mixed Tamiya German Grey a little bit into Kahki and got a good colour. This was airbrushed on to the figures and they look great.

After setting I have then started painting colour by applying brown. This is painted onto the boots, guns, shovel handles and the helmet strap. The helmet strap is important as when you paint later in Olive drab (OD) you just brush each side of the strap and it leaves a crisp strap in brown.. which shows up alot when viewed from above.

some pics for you.

IMG_1664

IMG_1663

IMG_1662

IMG_1661

IMG_1656

IMG_1655

IMG_1654

IMG_1653

IMG_1652

Devlan Mud alternative wash

A apparently you cannot get the Devlan mud wash anymore I looked for an alternative and this little recipe was found at

I like the sound of it.

I remember some years back chatting to a guy at polytech who painted heaps of 1/72 scale soldiers and often would over coat them in PVA glue. I was skeptical but apparently it made the paint stay.

The washes we had from GW flowed well and dried well… so I suspect this recipe will work.

All I need to to get some Matt medium.

…my “devlan mud” style wash is:
3 drops elmer’s(PVA glue)
10 drops matte medium
5 drops water
10 drops brown ink
1 drop black ink…

Edit: 18th October.

I have been looking to make up some more Devlan Mud wash as it is so good I have been using it all up.
However one ingredient is horribly expensive.
Brown ink. Once the colour used by financial auditors in the ledgers it has fast gone out of vouge in the stationary market. You can’t buy big bottles of it. You can only get little 25ml bottles for a reasonably high price.

So I have decided to make an alternative. I will be trying it out soon.

Instead of 10 drops of brown ink I will try using Burnt sienna dye or dye powder in the mix.
Dye is very strong in colour and depending on how you dilute it you can change its properties.
I bought some FAS dye for about $12 and this is enough to make. A 30gm bottle of dye looks to be about enough to make 7 cups of dye for art purposes. So may make about 5 cups of ink substitute.
It’s also Kiwi made and that’s cool.
SO $12 for about 7 x 250ml Burnt sienna dye or $12 for 15ml of W&N brown ink.
I will use the last of my first batch and do a comparison on a texture soon.