Beakies new hands

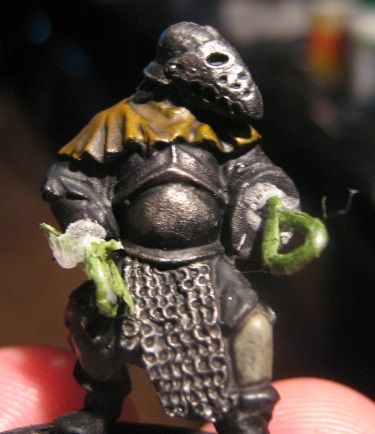
I got this figure who has a beakie helemet… and he looks great.. but like alot of the figures you get they often are missing thier hands and spear.
So I made some.
There pretty rough.. but they are tatty gloves and anything rough on a orc looks fine.
Everyone should start conversions with orcs… you can get away with faults.

So I drilled the arms and bent some florist wire and Super glued them in, after test fitting of course.

beakies hands

Mixed some hard green stuff and sculpted as well as I could in place.

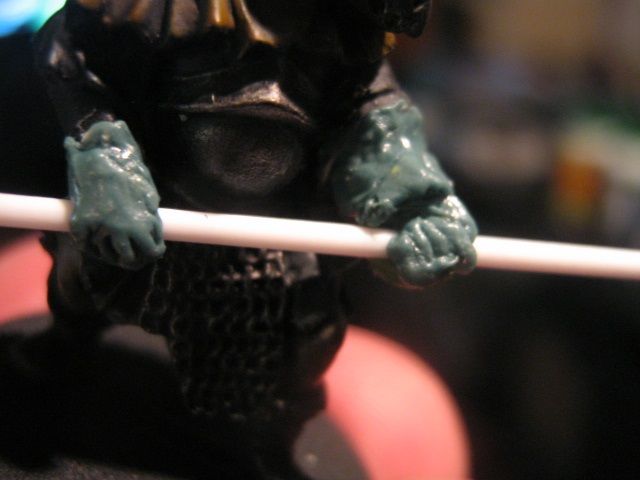
The polystyrene rod is 1.1mm diameter and works well.
I have tried brass rod and even tooth picks but after shelling out some money on propper Poly rod stock I have to say I love it. And it glues so well too.
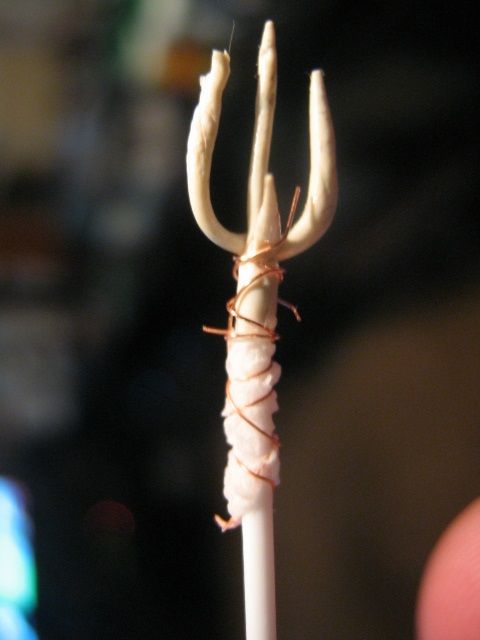
Anyway.. about eight years ago I made some weapons parts from DAS (which is very good polymer clay from NZ) I had a tri fork I made roughly and I decided this guy was going to get it.
Total pin to attach… I was going to socket it.. nope that didn’t work. tried wrapping paper sleeve.. nope. In the end it was a big blob of super glue and three windings of copper wire strands.

the ugly attachment

And he looks .. good!
He looks good.

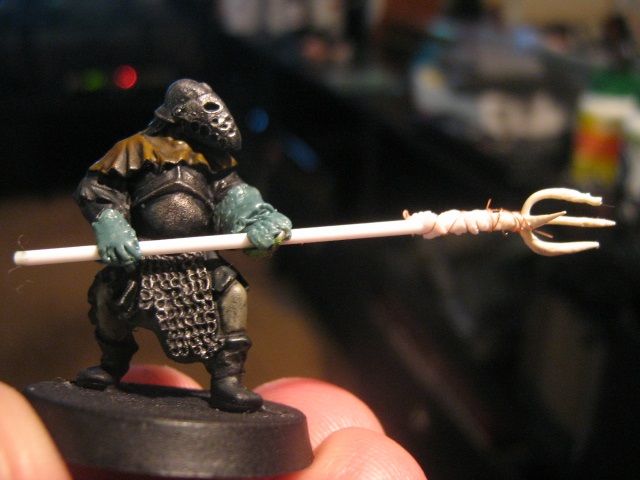
And the figure finished prior to basing material being added and static grass…

http://i117.photobucket.com/albums/o75/Martin_Ellis/Martins%20Lord%20of%20the%20Rings%20Minitures%20Photos/IMG_1849.jpg

And the completed model

http://i117.photobucket.com/albums/o75/Martin_Ellis/Martins%20Lord%20of%20the%20Rings%20Minitures%20Photos/IMG_1852.jpg


Wood Elf Glade Guard (Archers)

These are twelve of the twenty four archers you get in a wood elf battalion box.  They’re from a second hand battalion box that was purchased so long ago I’ve forgotten.  The box was pretty much as new except that all the sprues had been spray painted matt black.  I prefer to clean and assemble the minatures before spraying them and this was a good reminder as to why.  The mould lines were sprayed over making them difficult to see.  The parts of the model that needed to be glued were covered in paint making them poor surfaces to fix and thus needed to be scraped.  The minatures still needed to be clipped from the sprues and then cleaned up.  All of which meant that most of the paint needed to be scraped off.

Anyway painted the cavalry and the dryads a long time ago (see previous blog posts).  I was going to do all twenty four but just couldn’t bring myself to bite off so many and ended up doing only half of them.  My own colour scheme, not totally convinced by it which is why I almost always follow Games Workshop colour scheme.  They do rank up a little better than they are in the picture although I’ve had to number them because they do rank up only one way.

Orcs & Goblins, Squigs and Herders

Painted these a few months ago, maybe longer.  I think they’re coming out a little more purple in the photo than they really are, the squigs that is, and the highlights on the goblins don’t really show, a pity really as thats probably the best aspect.  I mixed a little yellow in with the green which I’ve seen others do and it really sets the model off.  At least it works quite well on the comical goblins.

Also painted up is “the chase” a vignette of three models chasing each other.

All the squigs and herders were resin.  This was my first foray into Games Workshop resin.  The detail is great however the bubbles and mould lines were pretty disappointing.  The mould lines were difficult to remove but the bubbles in the fine details are even more difficult to rectify.  I guess it’s what you should suspect with resin but it’s quite frustrating when you pay the kind of money GW ask.