
hey I have finally go at around to flocking all those USA troops tonight.. man .. I’m not finished yet but there is some serious work I have 93 stands to base!
So I took some time in this activity to show you how I base my stands
First up I don’t put any scenery on my bases.. because that what the terrain and buildings are for on you war games table.
I have seen some very nice little bases with walls and fences and in some cases half a small building… real nice… and then you put them on a wargames table and they look naff! And you cant use them properly and they fall of small slopes on hill sides … Which reminds me see note at end of article.
So, my bases are very basic.. but this still takes some work. What sort of work you ask?
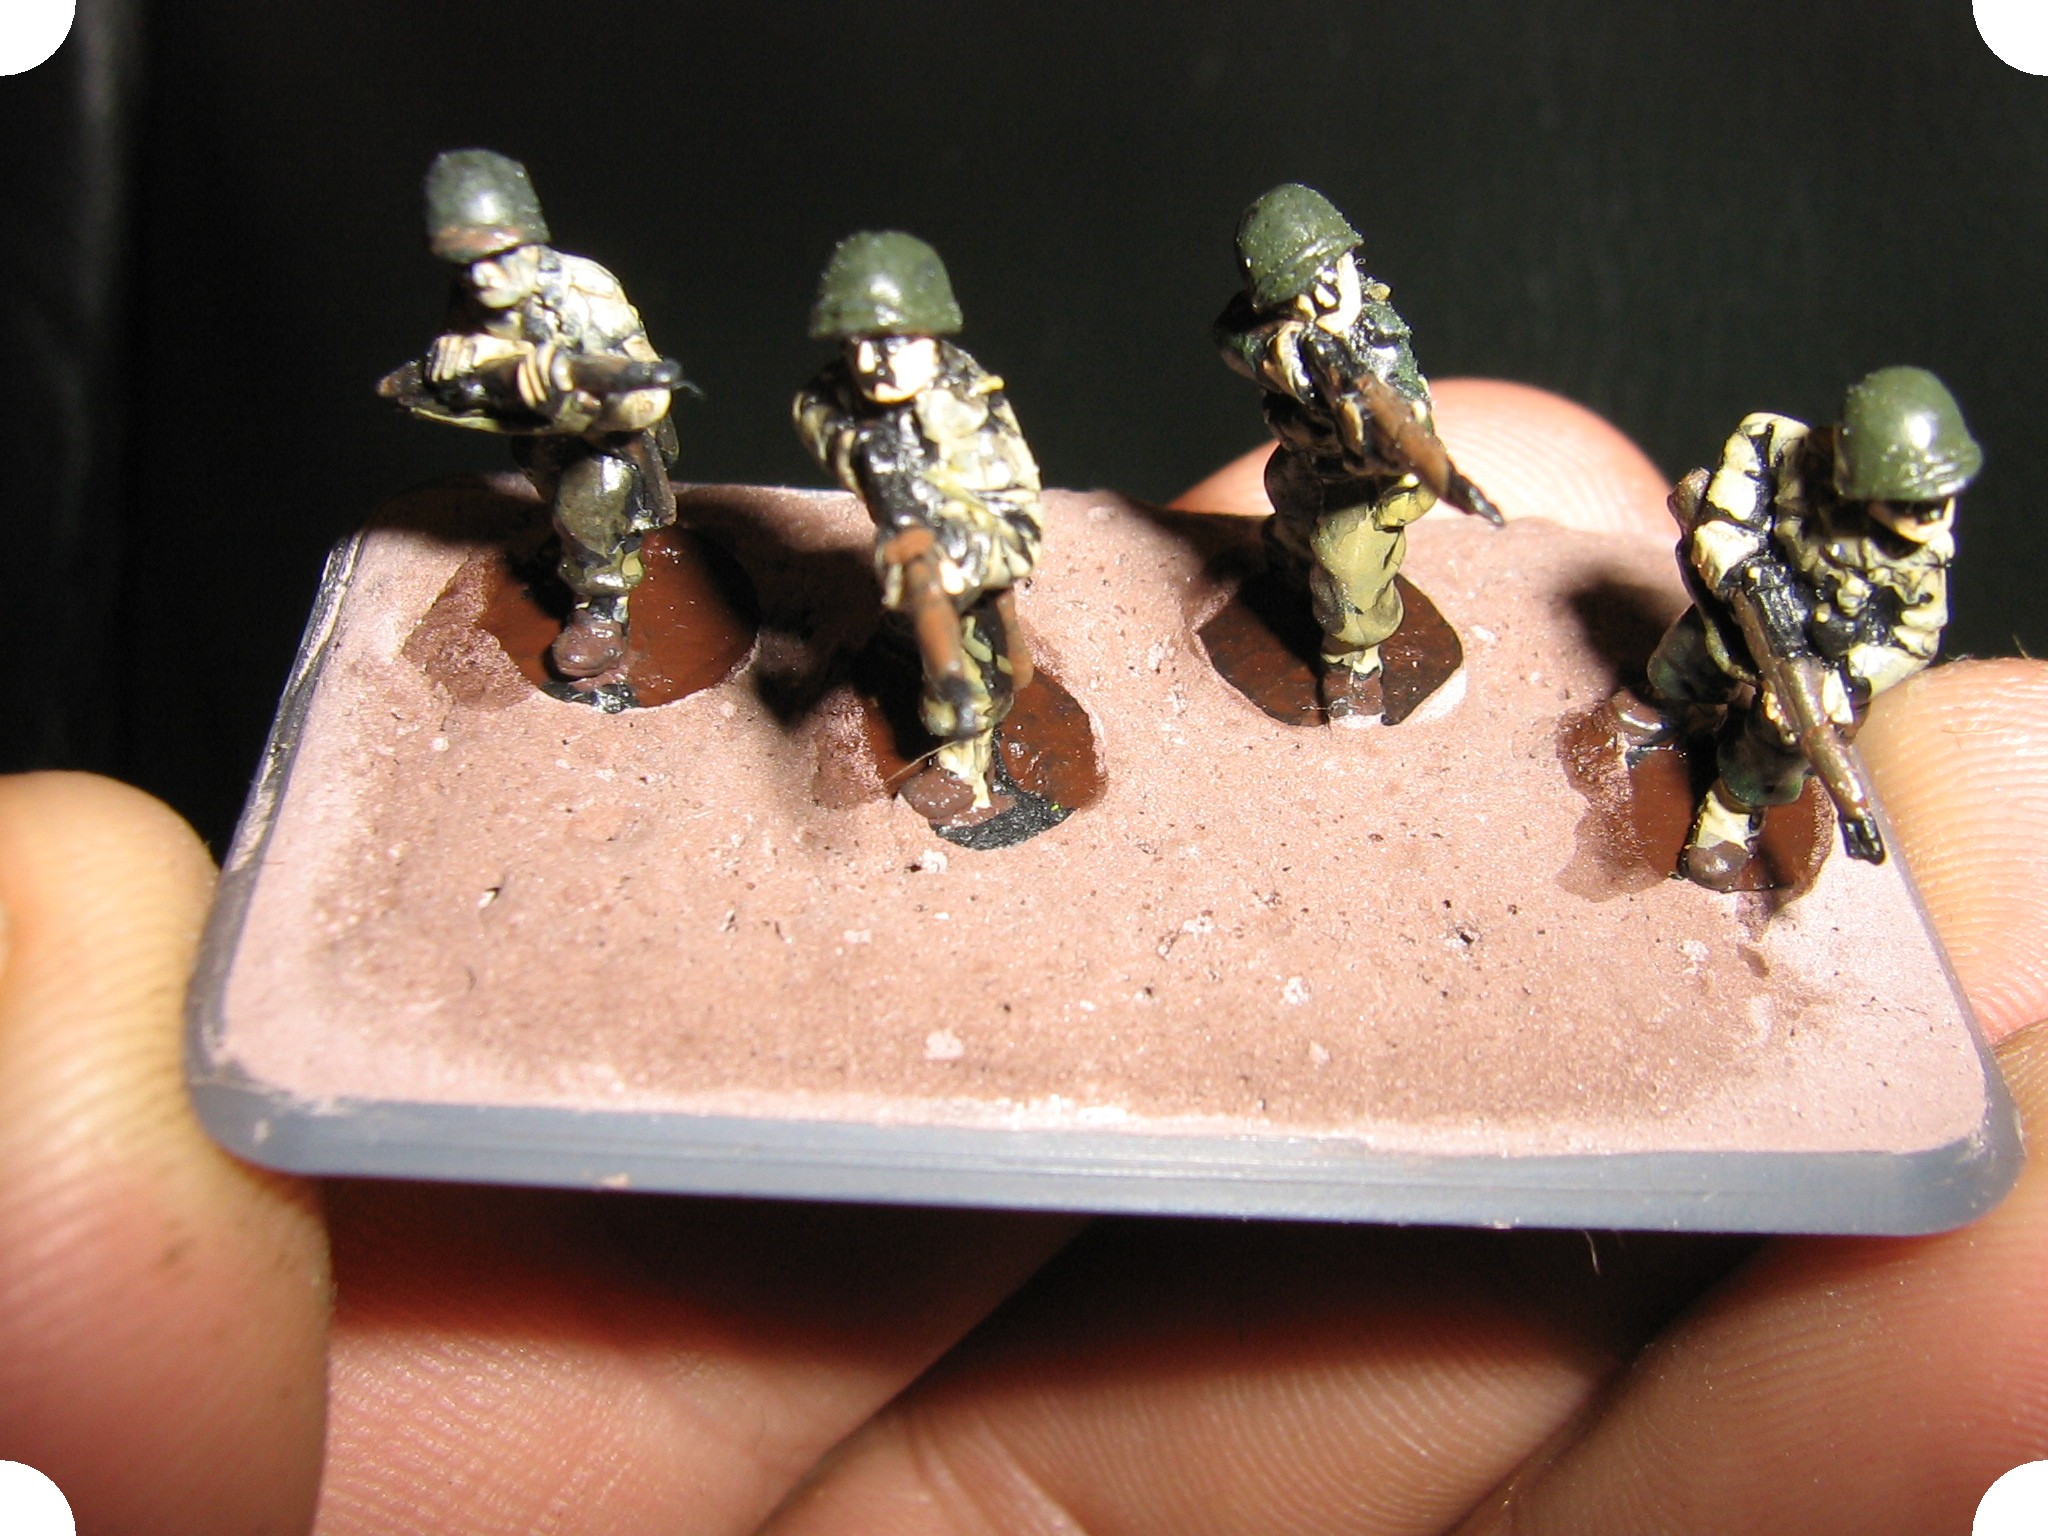
1. First up you paint your figures and you remove them from the card you glued them to.
A small note here… paint your miniatures on a card strip.. don’t paint them glued to your plastic base with shity sand all around them like they do on the web sites.. it’s stupid. You can’t do a decent job of painting a miniature this way.. especially gun teams. And if you have pre-made bases.. with the little holes .. then why would you.?
2. If you were clever you would have painted the metal base a brown colour to match or nearly match the proposed colour of your base plaster.
My plaster is a medium brown colour. The reason for this is when you flock the base the colour underneath kinda looks like the soil underneath. I can also if i want leave dirt patches for the likes of guns where the ground gets alot of foot traffic or wheels and you don’t want grass.
3. then you roughen up the plastic base surface.
I use a rotary hobby tool (like dremel) with a sanding cylinder on it… it makes very very quick job of this and a superior surface to apply plaster too.
4. You glue all your miniatures on with cyrilinate glue (super glue).
I always save up all my basing and gluing items and do a run of them at once. Because those wee tubes only have a shelf life of about 4 weeks after opening.
5. Now I plaster the bases around the miniatures. I use drywall filler. I mix my own from powder.. I don’t use the pre made stuff because it is too stiff and I find it a real pain to water it down work it to a lesser consistency. Also I can add colour to my plaster at this stage.
6. Add colour to your plaster. I use a hefty helping of Vandyke brown or dark ochre brown
If you thinking..” that’s not a GW paint name…” well you’d be right.. use poster paint or artist acrylics.. who in their right mind would use $8.00 a pottle of miniatures painting paint to colour plaster… honestly.
Mix your paint in and make it dark.. If i’m mixing 1/2 a cup of wall filler I will typically ad about 1 Table spoon of colour.. for a light dirt and 3 for a very very dark. I use the same colour to paint the miniature’s bases and you see a distinct dark patch around the figure.. don’t worry about that because everybody casts a shadow and so do small men.. you won’t notice it. However I have added white to my paint that i paint the miniature base with and the result is superior.. but only if you go looking for it.
7.Mixing. stir your plaster mix and paint with water.. add more waer than the instructions say because we want our plaster to somewhat flow around the miniatures bases and we don’t want to have to do either of minor dragging or pushing of the plaster with a tool to get into those spots. Do NOT over mix the plaster, or safer still use a round rodd to mix it. Because if you get too much air entrained into it it will flop like sponge brought from the oven too soon. And it is easy to do. Trust me. It leaves a thin covering and all your minis standing on their dais’s looking like Greek statues.
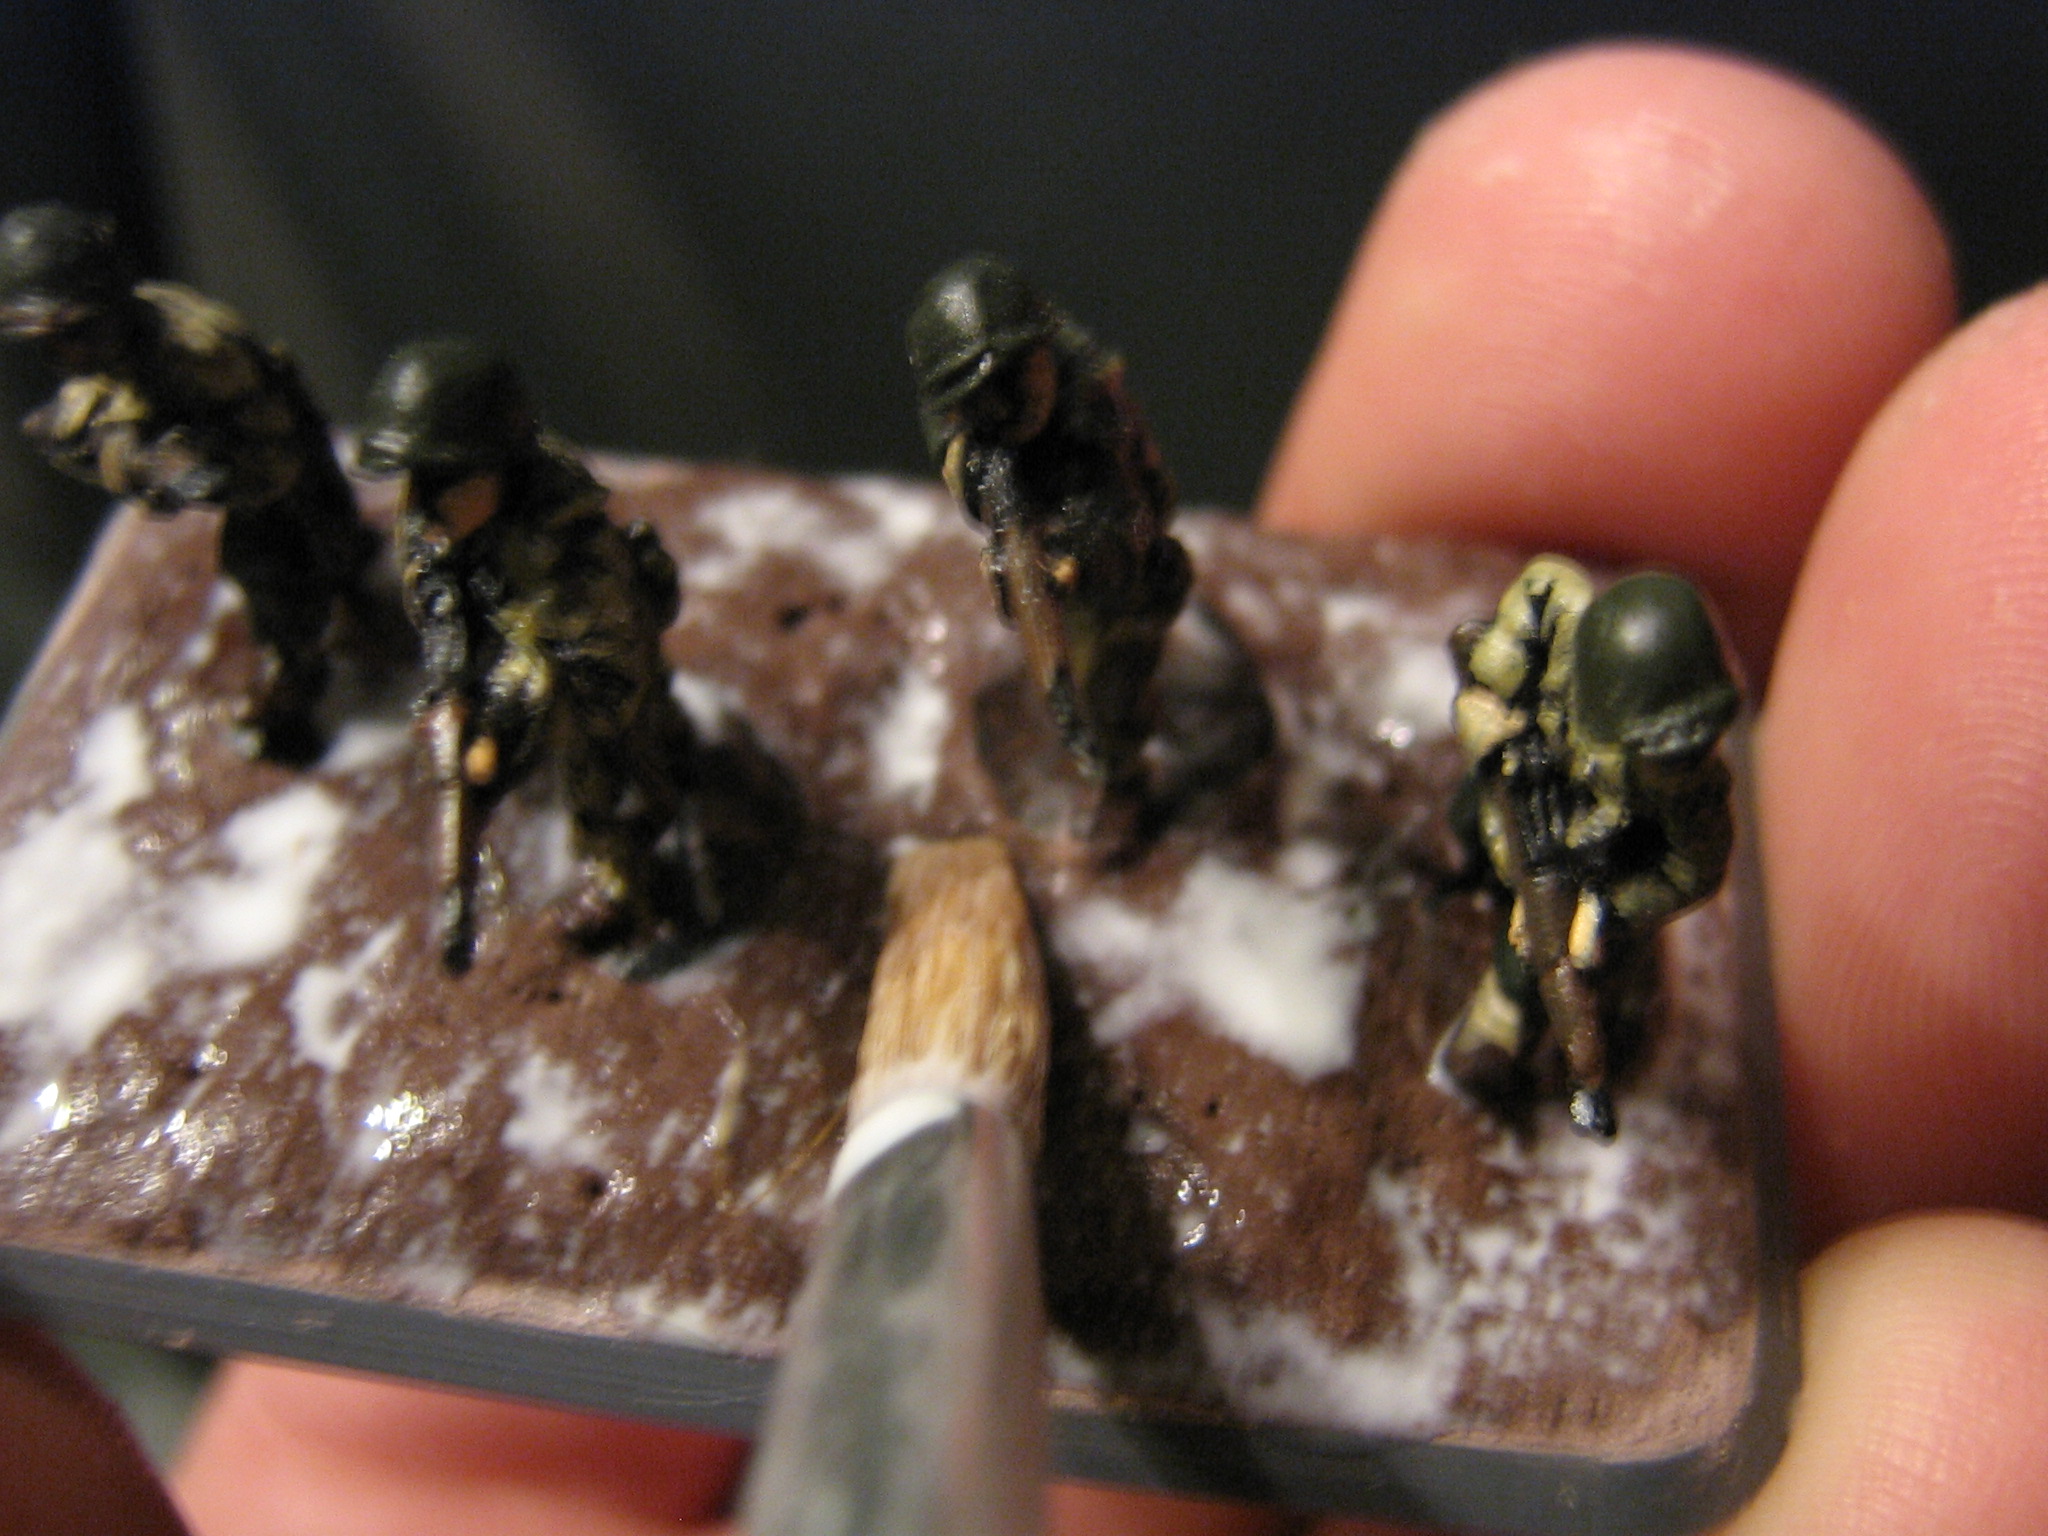
8. Use a small spatula to apply the plaster. I use a standard sculpting tool with one of those paddle ends.. you can use a micro screwdriver too. Use anything that allows you to spoon on as much as you need without splattering it all over you minis.
ii. easier to remove plaster from the minis without removing all their colour. a water laden brush is enough and wipe with a tissue.
9.Whip the base edges with a tissue..(which gets pretty scungy but works) This gives a good edge. And set aside and let dry for more than two days.
10.Touch ups. lets face it we can’t get it right all the time so some bases may need a bit of paint..especially if the colour contrast too much (you will need to learn this yourself as to what is acceptable or not)
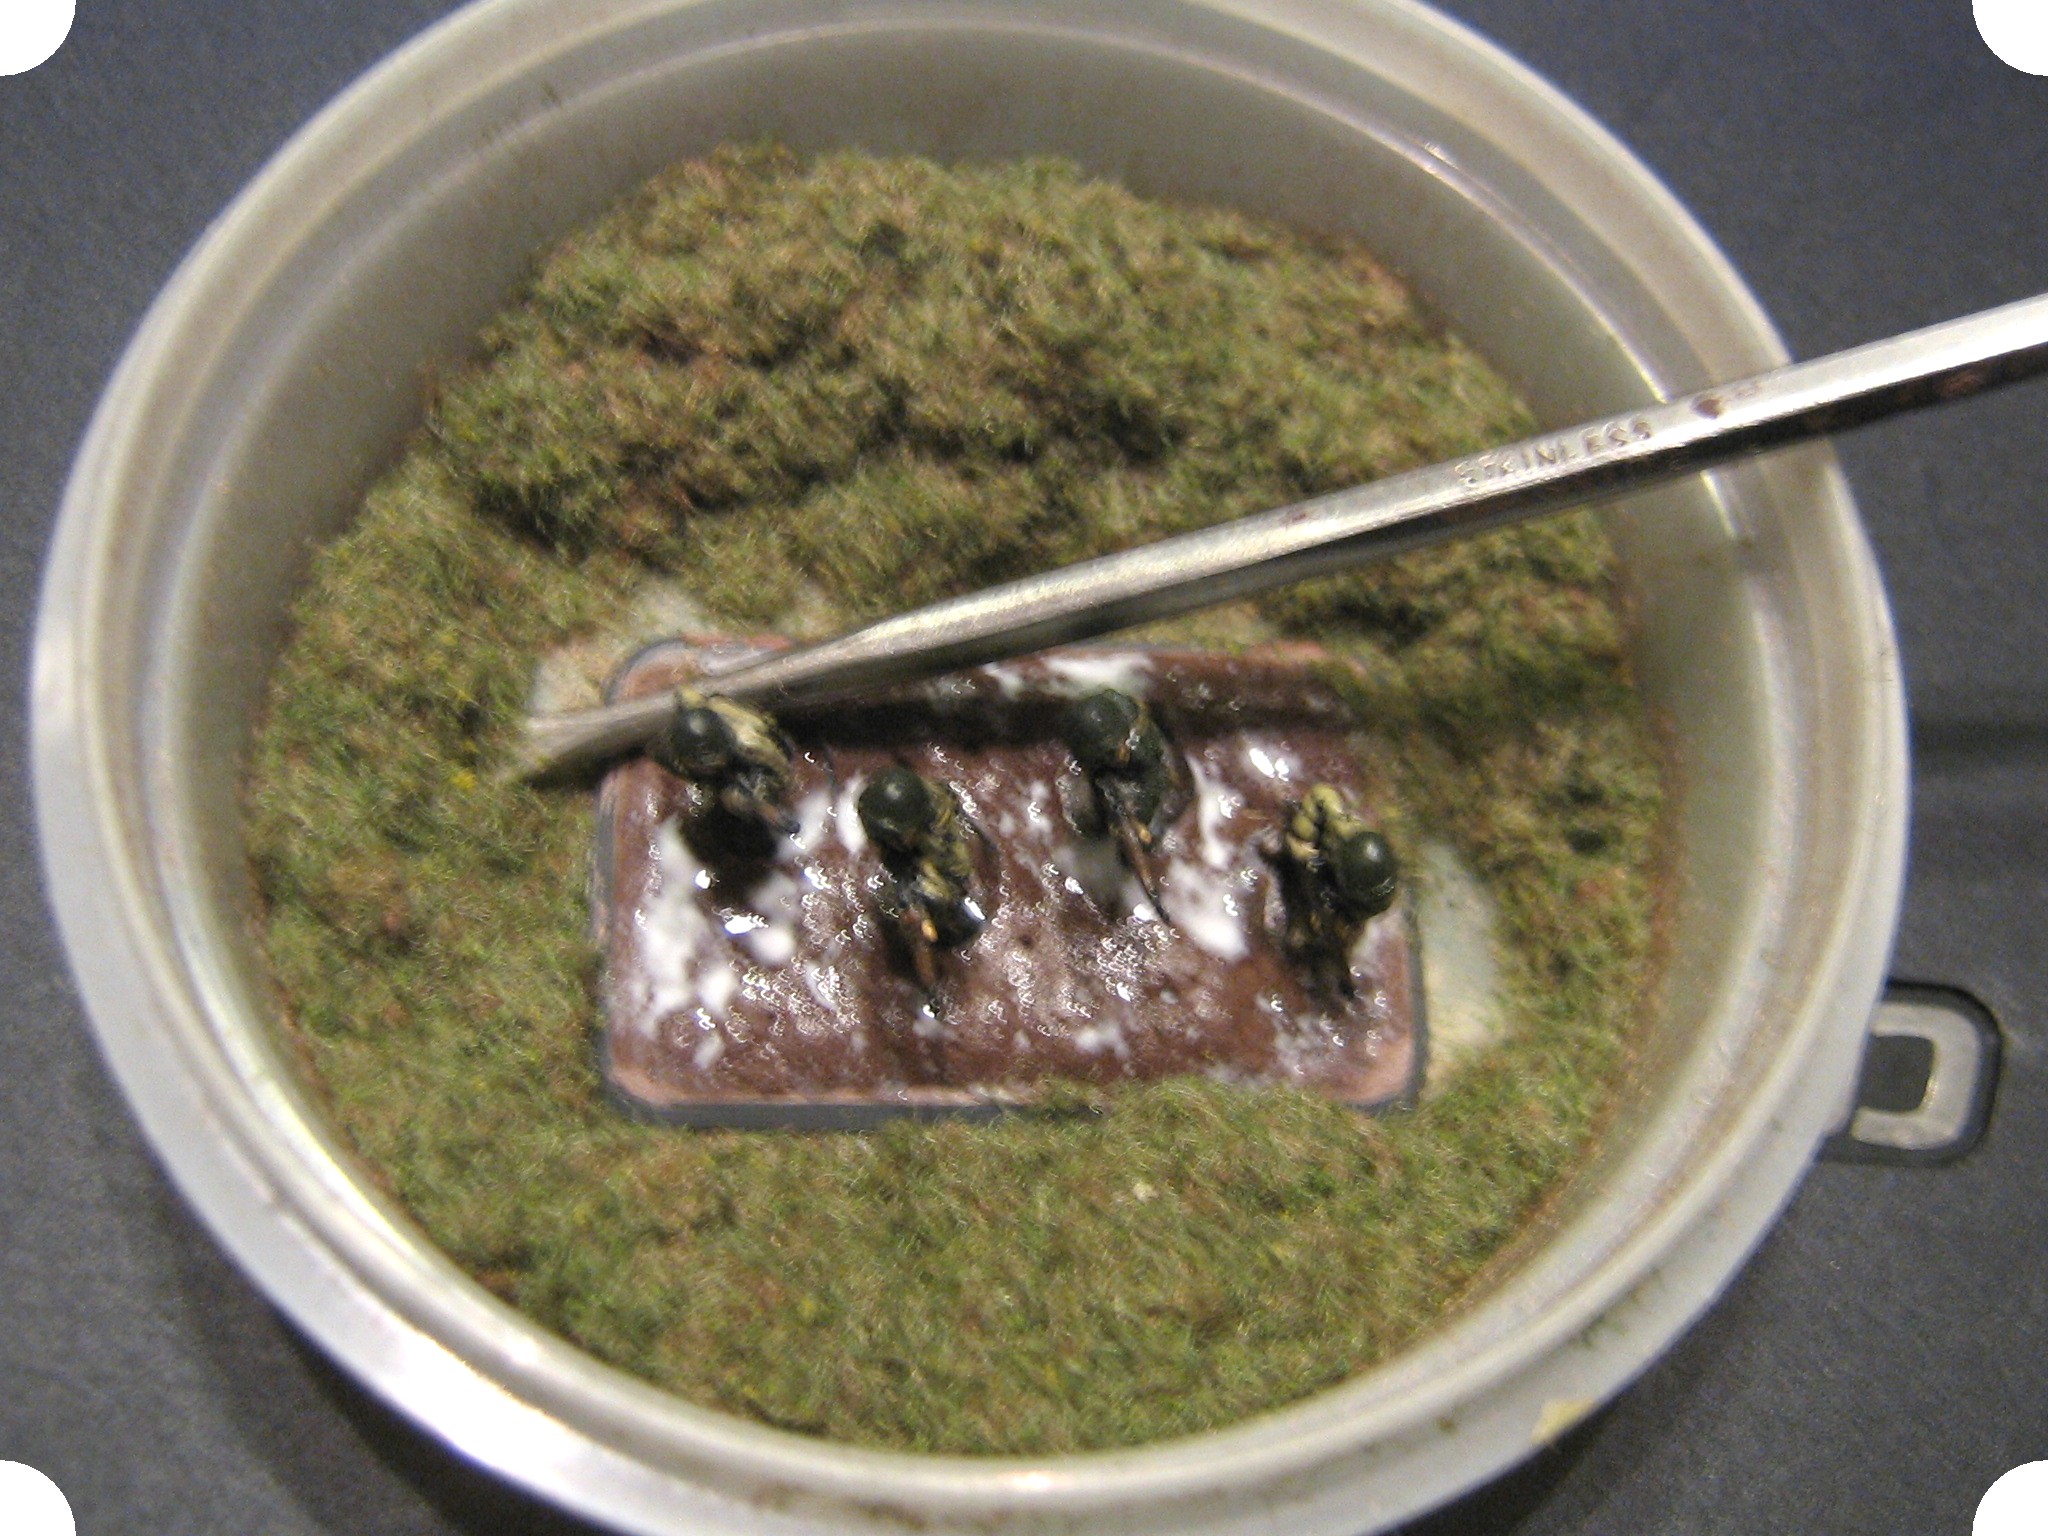
11. Get some flock! OK there are a heap of different flocks out there.. all I can say is what ever you choose… be consistent with it.
Some may use tea bag leaves other may use ground cover.. the little chuncky stuff. I use two colours.. brown and very short and fine flock … looks like pie needles.. and Woodlands sciences medium green. I’m going for a summer tone in my grass and it’s short. I get a small airtight pottle like you could get a bean salad in from the delicatessen. place my amounts I want and shake and stir it up. Important ting is it needs to be easily resealable and large enough to fit a large base in, and have room to scoop the flock around it.
12. mix your glue. You want PVA polyvinylacetate glue..white glue. elmers glue(I think). I mix it with the brush I apply it with. I do have another smaller GW brush too.
Anyway have a pallet or small cupped container.. mix 50/50 water and PVA and apply liberally to the base.
13. Apply the glue and if you get any on parts you don want just wipe it off or dilute it off the surface with water and wipe it. You need to be generous because the plaster will soak alot of the water and leave the gummy remnant of the PVA on the surface.

14. transfer the base into your flock pottle. Then use your small spatula tool to push the clumps of flock over the base. Don’t be afraid to pres down on the flock to unsure it sticks to the PVA.
15. Tip it over. and gently shake the base.

16. Tapping Tap the base with heavy hand tool.. I use a sculpting tool. This will knock of poorly adheres flock and also make some of it sit up.
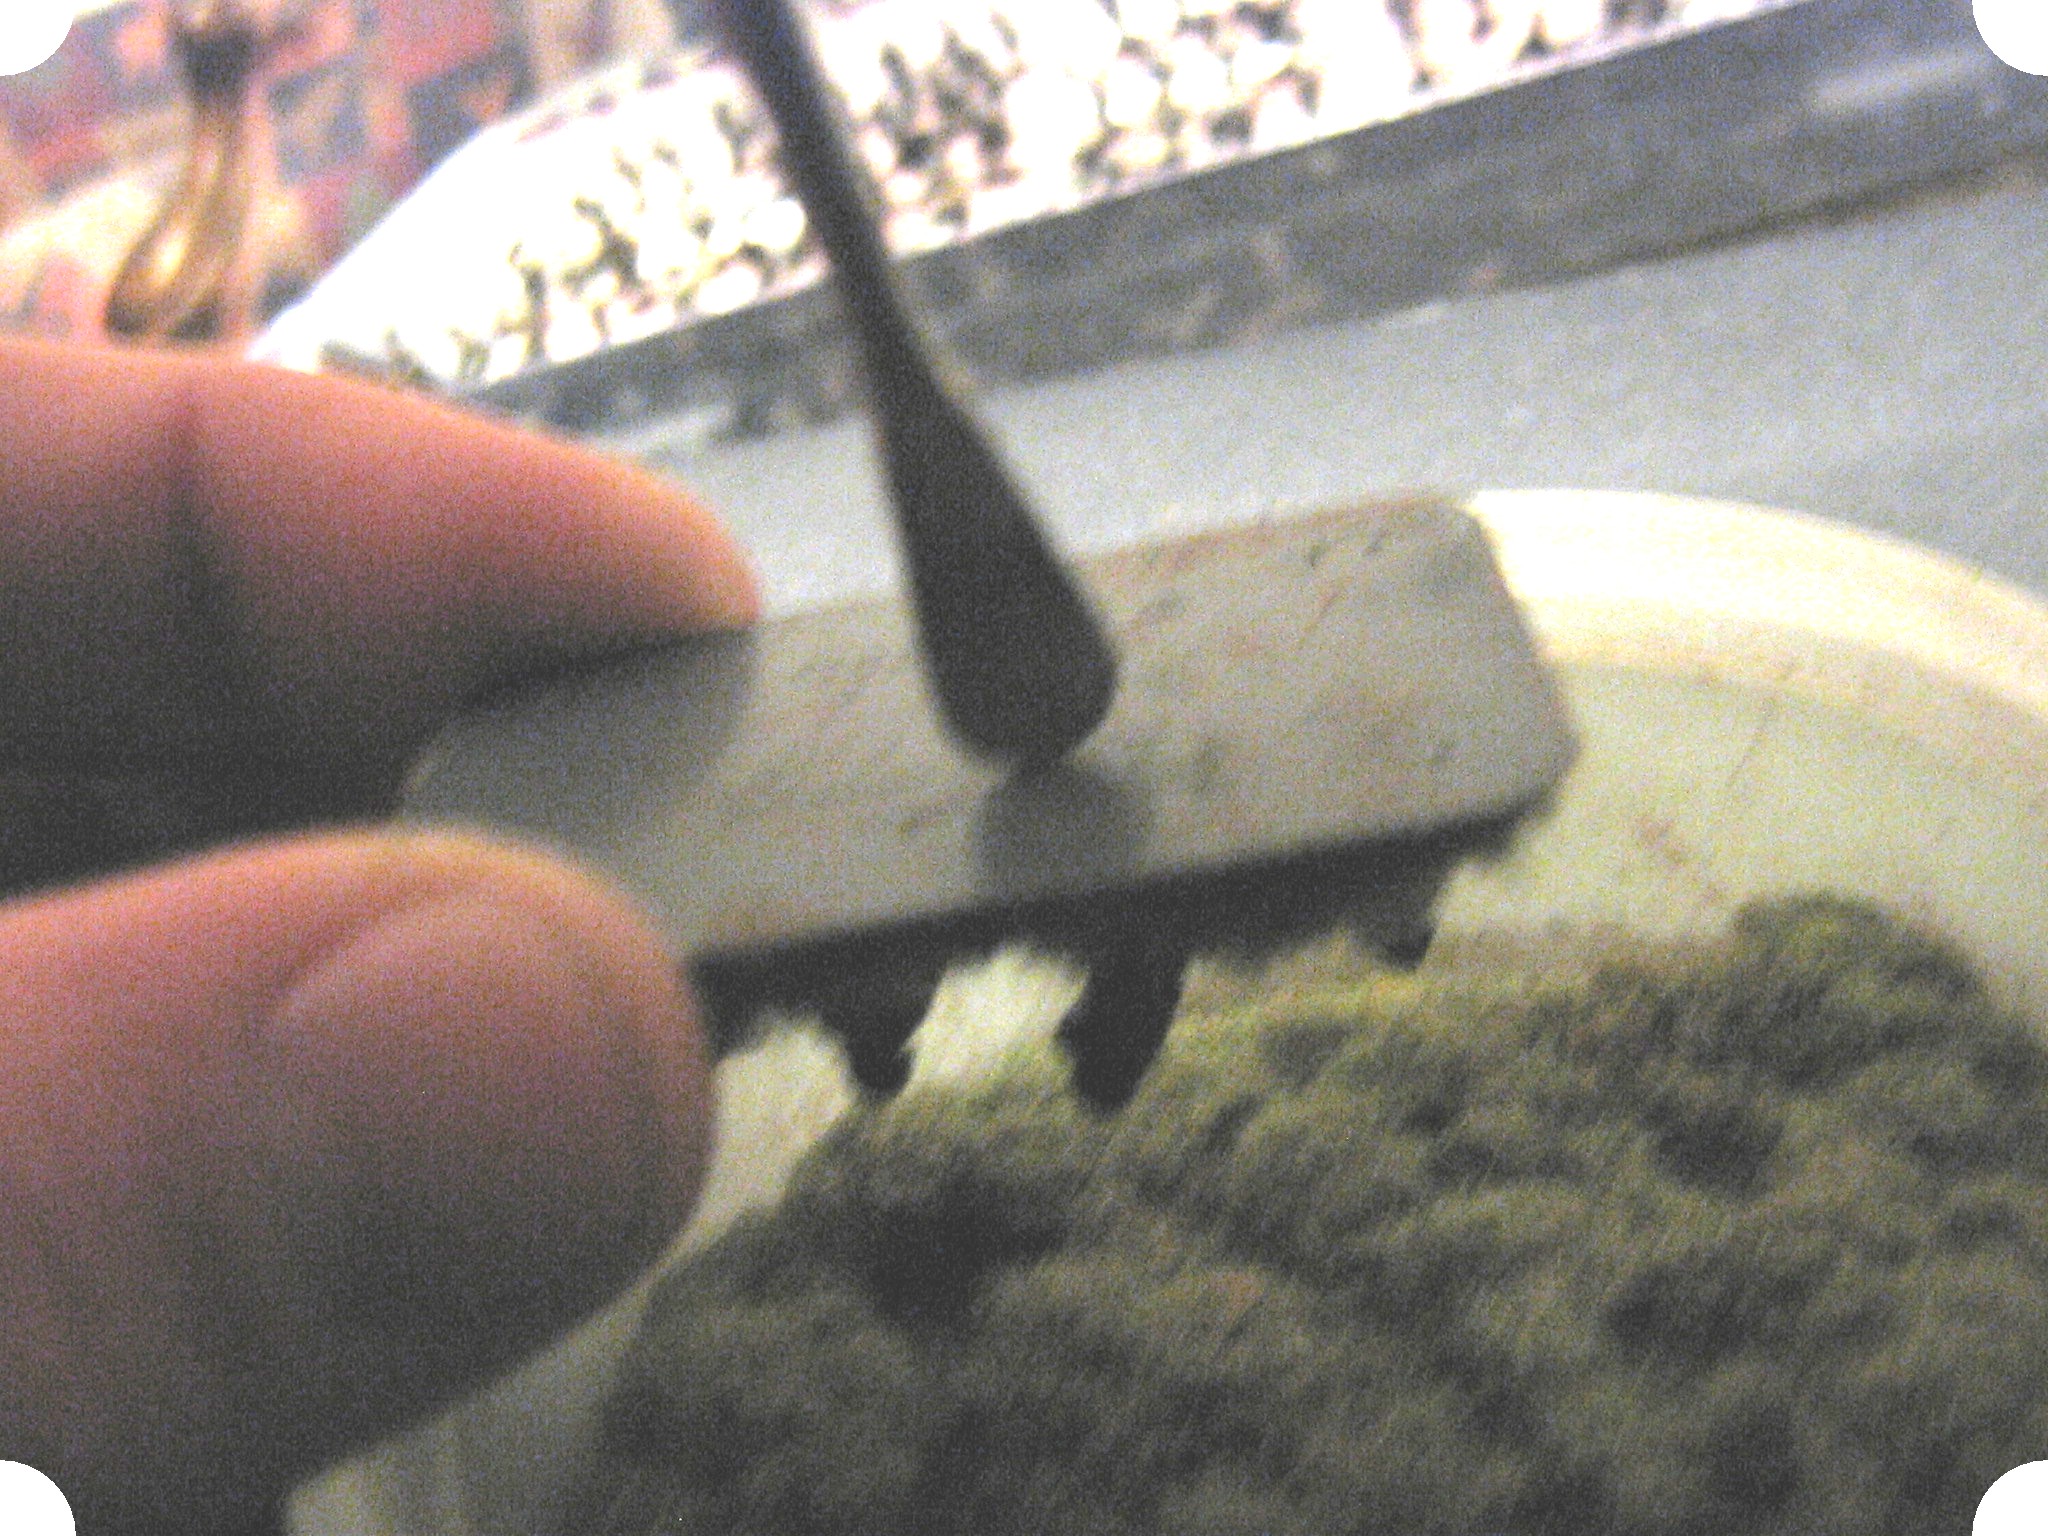
16. check it out. and maybe blow on it a little and remove any from the sides now before it sets.
17.you can let it set and then maybe attach any labels or paint the edges if need be
Final Note: this is worthy of a small article later but it will say it here too. To stop your bases sliding off terrain and make them easier to pick up you can attach to the bottom of the base some small self adhesive felt dots or cut some felt matt and stick it to the bottom. Defiantly worth the effort.. especially for observers and big bases with heavy models.
wow 93 stands I don’t know how you do it. 10 is about my limit before my patience deserts me and I have to have a bit of a break from it.
pretty much do exactly what you do. Though I have a gunked up flat head brush which I use to apply the paint. The watering down coming from dipping the brush (thing) in water and then in glue. Chiefly this is because I’m lazy but one advantage is that I can quickly apply more concentrated glue for those areas where it’s not covering well because of the thinness or avoid areas where I don’t want runny glue to track.
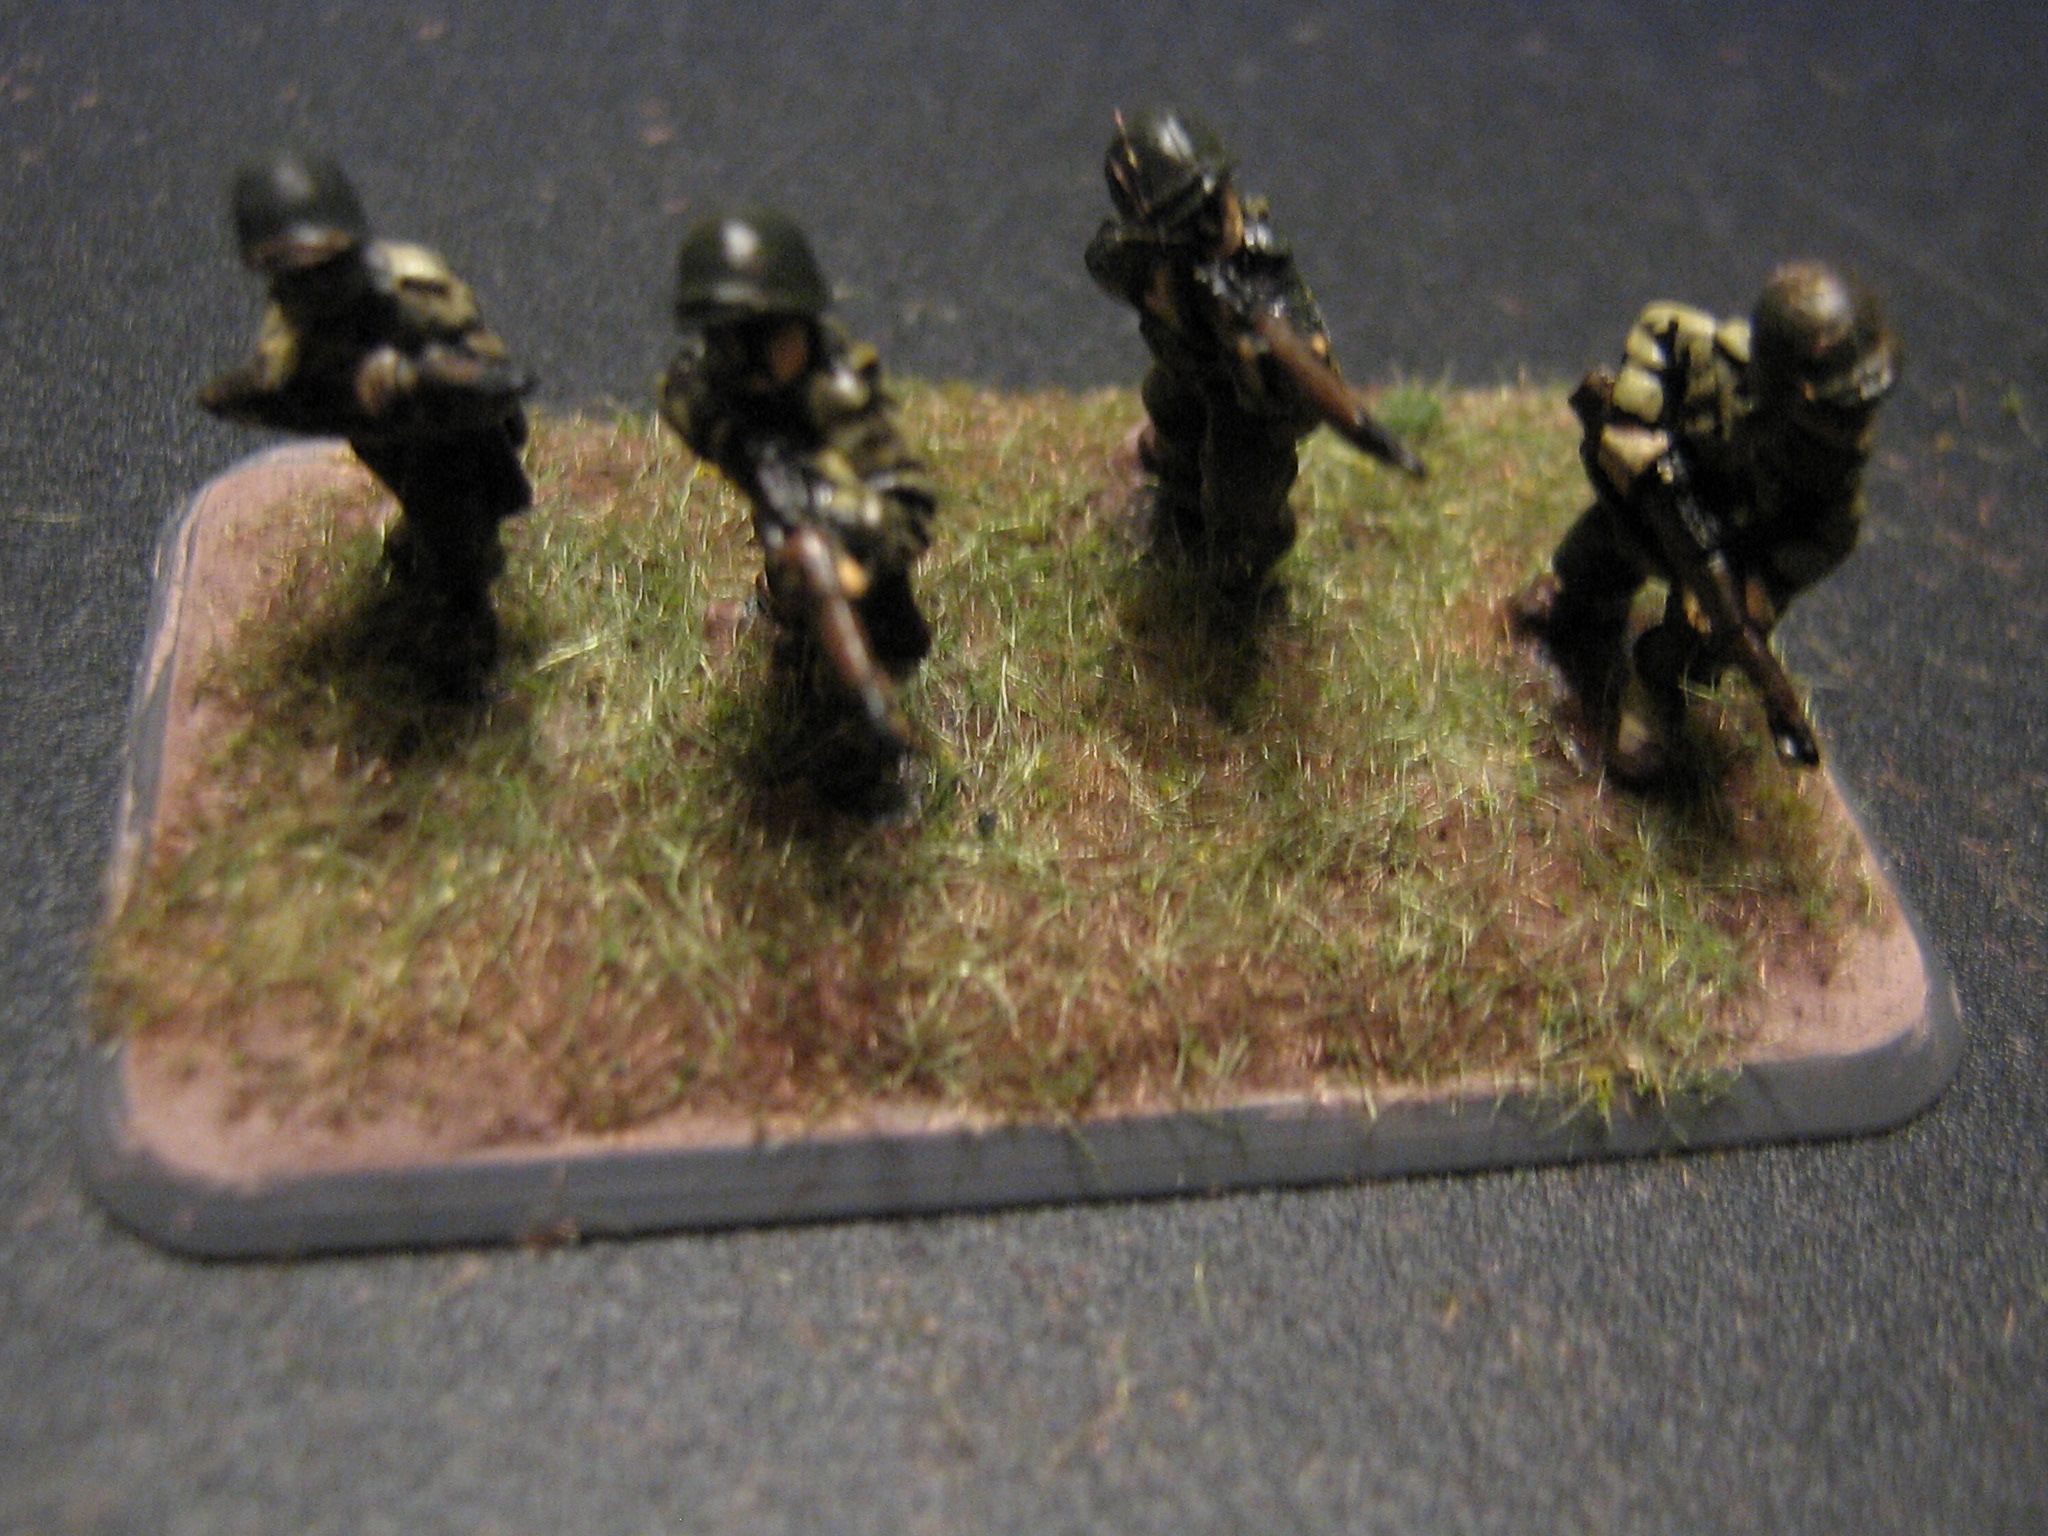
Yes … I think in these examples I diluted the PVA a bit much. I did allow me to spread the glue in a easier fashion.. but as you can see the grass is a little sparse.
In order to fashion excuses for this I can say the following:
1. I have always done it this way… although some of my middle renasaince period bases are thick glues and look like they are standing on green hay bales.
2. I offset this sparseness with a good coloured base… so any high observations see’s grass on topsoil… which can be typical of a summer or early autumn grass.
3. I mix in alot of fine brown flock so ther is no stark transition between mid green Woodland Sciencs flock and smoothish looking brown base. Because the brown flock is about half the length it sits in low like pie needles in grass… it actually works quite well.
Another thing I didn’t mention above… the drywall pputty/plaster dries a lighter brown wher it is thin at the edges of the base… this is an unexpected advantage… as it helps in colour transition.
And if you over mix and the putty becomes foam like… then a diluted PVA will soak in and bind that foam putty and give it flexibility and cohesion… making it stronger and more resiliant than just a PVA on top of the skin of putty.
Can’t you tell I’m engineer? Sheesh.
Lazyness is the architecht of efficiency… 🙂
Nice excuses, I almost believe you.
I too mix paint into my gib stopping compound and have likewise noted the colour lighten and dries. I’ve never really whipped to much air into it but I would think it’d be prone to cracking if you did do that.
Most of all.. I like the pie needles… hmmm..
and a good feed of pputty.